
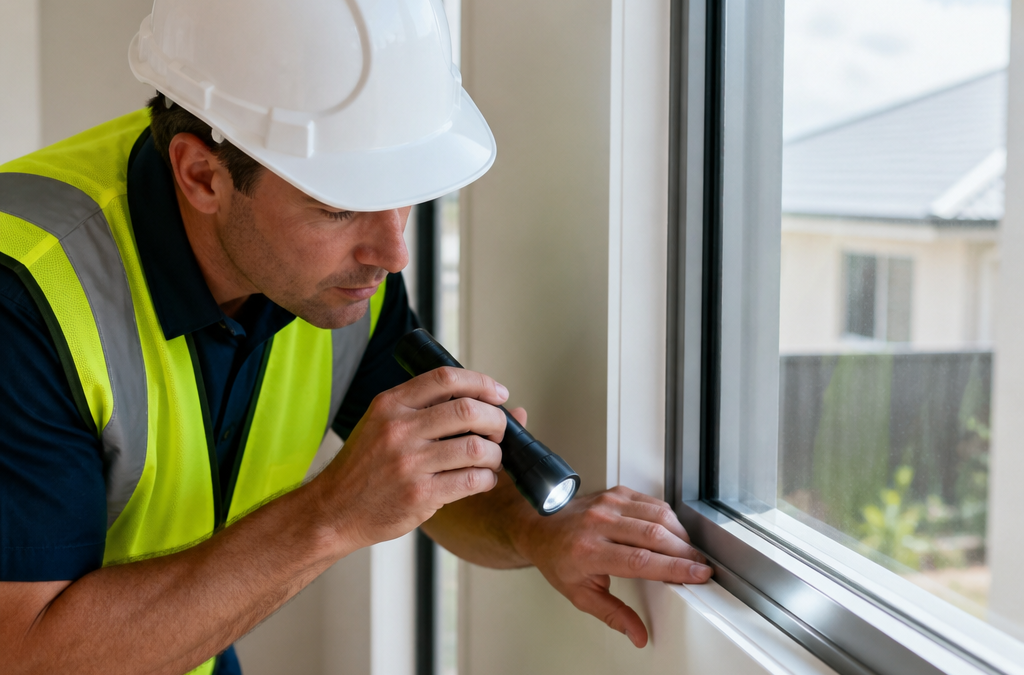
Windows and doors are the items a new homeowner opens, closes and tests most often, and they are also where water finds its way into a building. A frame that is out of square, a sill with a gap in the sealant or a sliding door that drags on its track can pass a quick walkthrough, then appear as a wet carpet after the first heavy storm. In Brisbane, the Gold Coast, Logan, Ipswich and Redland Bay, that storm can arrive within weeks of moving in. This guide sets out the checklist we use on handover inspections, so you know what to test, what to photograph and who should fix each fault before you sign off.
Table of Contents
- Quick Takeaways
- Why Window and Door Defects Show Up After Handover
- Frame and Glazing Defects to Check First
- Operation and Hardware: Testing Windows and Doors Properly
- Water Entry, Sealants and Flashing
- Comparing Ways to Check Windows and Doors at Handover
- Assigning Responsibility to the Right Trade
- The Handover Checklist for Windows and Doors
- Frequently Asked Questions
- References
Quick Takeaways
| Key Insight | Explanation |
|---|---|
| Test every opening, not just the ones you use | Open, close and lock each window and door, including those in bedrooms, laundries and garages. Faults often hide in the openings that get the least use. |
| Check squareness by measuring diagonals | A frame that is out by a few millimetres will bind, rattle or leak. Compare the two diagonals of each opening and check that the head and sill are level. |
| Inspect sealant at every corner and joint | Flexible sealant at the head, jambs and sill is the first line of defence against wind-driven rain. Gaps, patches and paint over sealant are common findings. |
| Flashing is where most leaks start | Missing or reversed head flashing lets water run behind the cladding, often with no visible staining until weeks later. |
| Tie every defect to a responsible trade | A defect assigned to the glazier, carpenter or waterproofer gets fixed faster than one logged as “window issue”. |
| Put defects in writing before settlement | Once you settle, the builder controls access and timing. A dated, photographed defect list gives you a clear record to work from. |
Why Window and Door Defects Show Up After Handover
Windows and doors are usually installed after framing, wall wrap and cladding are in place. That sequence means the crew fixing each opening works around other trades, and the seal is often finished under time pressure. The result is a set of small faults that look acceptable on the day and become leaks later.
One builder’s buyer checklist for new construction describes the core window and door checks as squareness, smooth operation and proper caulking at the perimeter. It also notes that gaps in weatherstripping or visible daylight around a frame point to installation problems. Those are the signs we look for first on every handover.
Installation faults that hide behind trim
Architraves and skirting cover the gap between the frame and the wall. A poorly packed gap, an uneven reveal or missing back-fill may look fine until a door swings or the wall moves. Ask the inspector to check the reveal from inside and outside, not just from the hallway.
In practice, the faults we find most often are frames fixed with too few packers. When the plasterboard is screwed off, the frame bows slightly, and the door starts to rub on one edge. Trim hides that movement until someone opens the door a few hundred times.
Why the first wet season matters
New homes settle and dry out. Timber shrinks, sealants cure, and frames move a little as the building takes its load. Humid summers and heavy rain test those joints within months, so a defect that was barely visible at handover can become a leak by the next wet season.
This is why a document-first approach at handover matters. A defect logged and photographed on the day is far easier to enforce than a verbal complaint raised six months later.
Frame and Glazing Defects to Check First
Start with the frame and the glass before you test any moving parts. A frame that is out of square will bind, rattle and leak no matter how good the hardware is. Bring a spirit level, a tape measure and a torch, and check in daylight if you can.
Work through each opening in the same order every time. That habit matters more than any single test, because it stops you skipping the fiddly details on the third day of inspections.
Squareness and frame alignment
Measure the two diagonals of each window and door opening. If they differ noticeably, the frame is out of square. Then check that the head and sill are level and the jambs are plumb.
Doors are easier to read. A door that sits tight at the top on one side and wide at the bottom on the other usually points to a frame or hinge problem, not a sticking problem that can be planed off. Planing a door to fit a bad frame just moves the fault somewhere else.
Glass, seals and condensation
Look for scratches, chips on the edges, and any haze or moisture between panes. Double glazed units that fog have failed seals, and the glazier should replace them. Check that glazing beads are seated evenly, because a gap or loose bead lets water track into the frame.
The window that looks fine from the outside is often the one that fails first from the inside. Check the joints, not just the glass.
Also check the glass itself for labels and markings that should have been removed. Leftover stickers and protective film that have baked on in the sun are a sign the installation was rushed.
Operation and Hardware: Testing Windows and Doors Properly
Operation tests tell you whether a window or door will work for years, not just on the day of handover. Open and close each unit at least three times, and listen for scraping, catching or a lock that needs force. Include every window, including the high-level openings and small fixed panels that people forget.
A good test is one you would repeat on a normal day in the home. If the lock only engages when you lift the door, the fault will be obvious to the family within a week.
Sliding and stacking doors
Sliding doors generate more complaints on new builds than almost any other item we inspect. Lift the door slightly as you close it, then check the rollers and the track for debris, misalignment or bent components. Check the interlock where panels meet, and look for daylight at the centre seal.
Make sure the drainage slots in the track are clear. A track that holds water can overflow into the floor, and that damage often shows up as swollen skirting or a soft patch of flooring after the first storm.
Locks, latches and hinges
Each lock should engage fully without force, and the latch should pull the door tight against the seal. On external doors with multi-point locking, check that the bolts throw at the top, middle and bottom. A lock that engages at only one point is not secure, and it does not hold the door against the weatherseal.
Hinges should be tight and aligned. Loose screws on a new door usually mean the packers were not properly fixed, and that defect will get worse as the door is used.
Pro tip: Close the door on a sheet of paper at several points around the frame. If the paper slides out easily anywhere, the seal is weak at that spot and will let in draughts, dust and insects.
Water Entry, Sealants and Flashing
Most window and door leaks in new homes are not glass failures. They come from water getting behind the cladding at the head, jamb or sill, where flashing and sealant are meant to direct it outward. This is the part of the checklist that matters most in a wet season, and it is the part buyers are least likely to test.

Head flashing and lapping
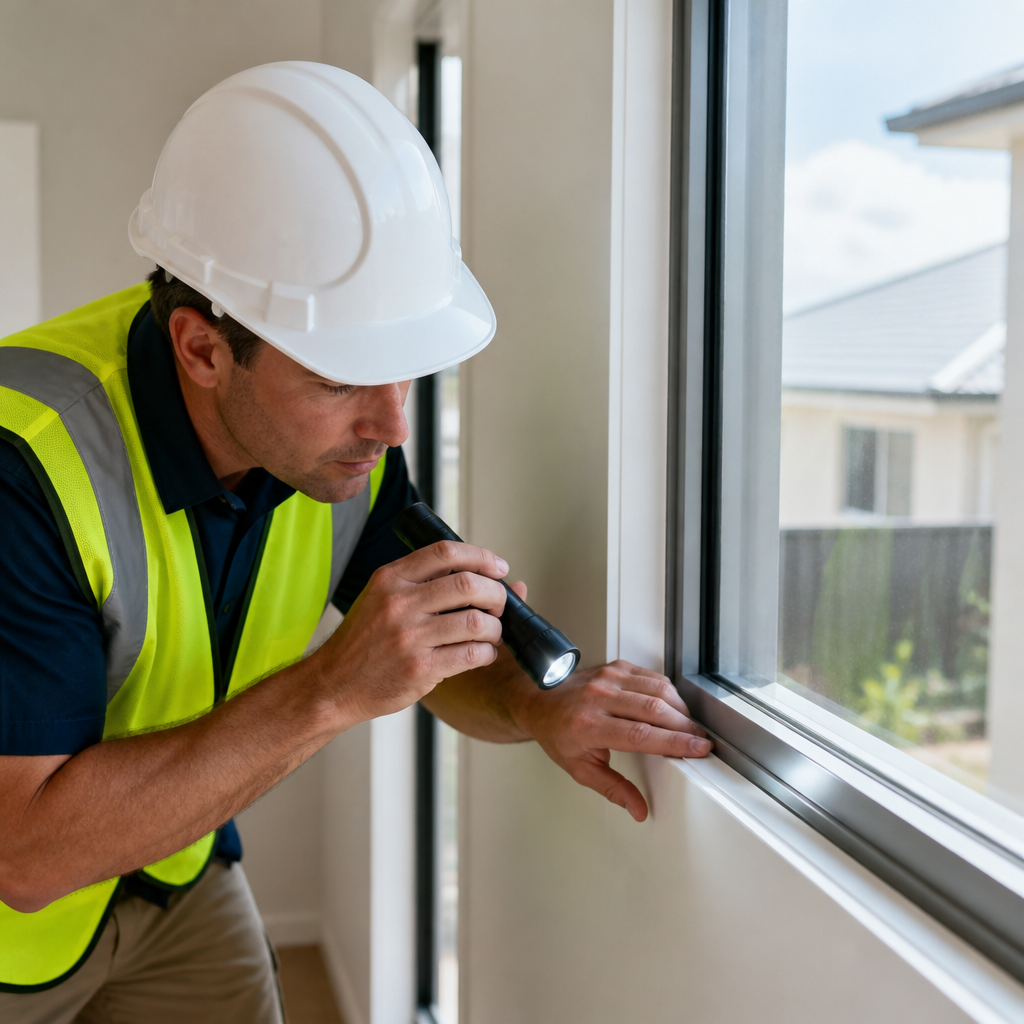
Head flashing sits above the opening and should lap correctly over the wall wrap, with the wrap lapping over the sill flashing in turn. A reversed lap or a missing piece lets water run down behind the window. Look for stains under the head of the window inside, and check the outside from ground level or from a safe ladder position.
Lapping faults are hard to see once the cladding is finished. That is why the best time to raise them is during the build, or immediately after handover while the wall is still accessible to the trade.
Sill details and weep holes
Sills need a sloped, durable surface that drains away from the building. Check that each sill has a fall, that end dams are in place, and that weep holes or drainage outlets are open. Blocked weep holes are a common finding, and they are easy to clear if they are logged before handover.
Sealant should form a consistent bead with no gaps, and it should be tooled neatly into the joint. Sealant that has been painted over, or applied in short patches, fails first. Pay close attention to transitions where window frames meet a different cladding material, because the joint is more likely to move there.
Comparing Ways to Check Windows and Doors at Handover
Buyers, investors and developers tend to rely on one of three approaches. Each finds different faults, and the gaps between them are where defects get missed. Understanding those gaps helps you decide how much checking your project needs.
Self-guided walkthrough with a printed checklist
This approach costs nothing beyond your time, and every buyer should do it. It catches obvious problems such as broken locks, scratched glass and missing screens. It misses water entry, because you cannot see behind the cladding or test flashing from the inside.
Builder’s final walkthrough
The builder’s own handover walk is useful for fixing items already known to the team, but it is not an independent check. The people reviewing the openings are often the same crew that installed them, so defects that look like normal finish work can be downplayed. Treat that walk as the start of your defect list, not the end of it.
Independent photo-enhanced inspection
A licensed inspector who records each defect with a photo, a location and a responsible trade gives the builder a list it can act on. Same-day reporting matters because the list needs to reach the site while the crew is still working on the project. This is the approach GoInspect takes on handovers across its service areas.
| Approach | What It Catches Well | What It Commonly Misses |
|---|---|---|
| Self-guided checklist | Broken hardware, scratched glass, missing screens, obvious draughts | Flashing faults, frame bowing hidden by trim, failed glazing seals |
| Builder’s final walkthrough | Known finish items, cleaning, cosmetic touch-ups | Independent view of installation faults and trade responsibility |
| Independent photo-enhanced inspection | Installation faults, flashing and sealant issues, operation under load, trade allocation | Problems that appear only after extended weather or occupancy, which need a follow-up check |
Assigning Responsibility to the Right Trade
A defect list that says “window leaking” gets delayed. A list that says “head flashing lapped the wrong way above the bedroom two window, responsibility: window installer” gets fixed. Responsibility matters because windows and doors involve several trades, including the window installer, carpenter, glazier, plasterer, painter, waterproofer and cladder.
When the builder receives a list with clear ownership, it can schedule the right people and avoid sending a painter to fix a flashing fault. That saves time for everyone, and it shortens the defect period.
Which trade owns which fault
Frame bowing and gaps behind trim usually belong to the carpenter or window installer. Failed glazing seals go to the glazier. Cracks in plaster around a frame are often the plasterer’s job, while poor sealant and paint at joints can belong to the painter. Flashing and wall wrap sit with the cladder or waterproofer.
Naming the trade on the report stops the builder from bouncing an item between crews. It also gives you a clear person to follow up with if the fault is not rectified.
Writing defect descriptions that get fixed
Every defect entry should state the location, the element, the observed fault and the expected standard. “Sliding door, living room, lower track obstructed, door does not close fully” is actionable. “Door issue” is not. Add a photo that shows the fault, and reference the room and opening number on the plan.
Keep descriptions factual. Avoid opinions such as “poor workmanship”, because they invite argument. Describe what you can see and measure, and let the photo do the rest.
When the builder disputes a defect
Some defects will be argued as acceptable. Ask what standard or manufacturer’s installation requirement the item is being measured against. If the fault affects weathertightness, insist on a re-inspection after rectification rather than accepting a verbal confirmation that the work is done.
The Handover Checklist for Windows and Doors
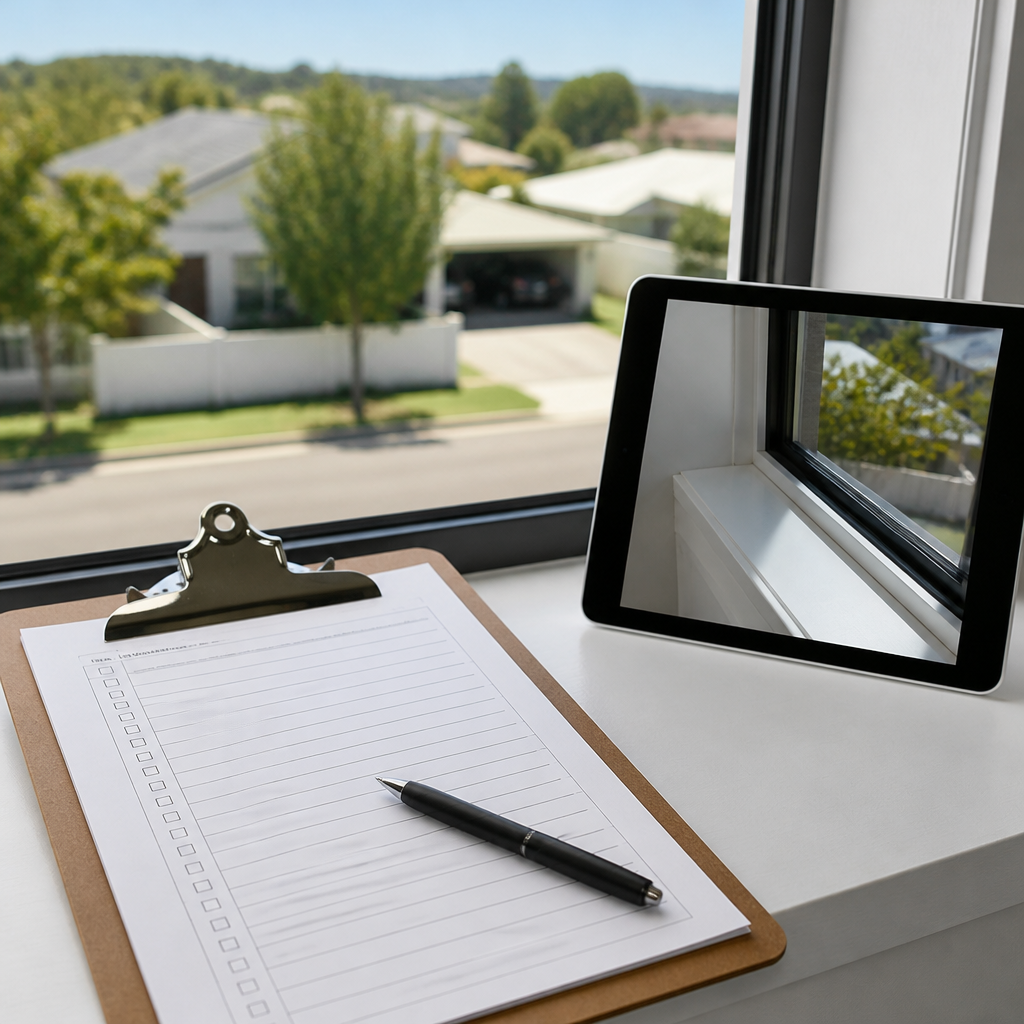
Use this sequence on every opening, from outside to inside, so nothing gets skipped. Work room by room with the floor plan in hand, and tick off each opening as you test it. A consistent order is the simplest way to avoid missing an opening in a large home.
Before you go on site
Ask the builder for the window and door schedule, including manufacturer and model numbers. Check that the opening sizes on the plan match what you can see, and note any openings that were changed during construction. Bring a torch, tape measure, spirit level, paper for the seal test and a camera that records location if you have one.
The outside sequence
Walk the perimeter and check each head, jamb and sill for flashing, sealant and drainage. Look for daylight around frames, cracked mortar at corners and water staining below openings. Check that screen fittings are secure and that external door thresholds sit above the finished paving.
The inside sequence
Inside, test the operation, locks and seals on every unit. Check the glass, glazing beads, linings and trim, then check floor-level thresholds and the sliding track. Record each fault against the room and opening number on the plan.
Pro tip: Test the windows and doors after rain or during a hose test, not on a dry day. Water entry shows up as staining, a damp reveal or a drip on the sill, and dry conditions can hide it completely.
Finish the inside sequence by checking the reveal around each window for any moisture or swelling. A damp reveal found on the day is far easier to rectify than one discovered after the first storm.
Frequently Asked Questions
Are window and door defects covered by the builder’s warranty?
Builder warranty and defect processes generally apply to faults reported within the contract period, and the terms vary between contracts. Document every defect in writing at handover, with photos and dates, so there is a clear record if the builder disputes the item later.
When should I book a window and door inspection?
Book the inspection before the final walkthrough, when the openings are still accessible and the finishes are nearly complete. Plan a follow-up re-inspection after rectification, especially for any flashing, sealant or water entry item.
What is the most common door defect in new builds?
Sliding door tracks and seals are among the most frequent complaints, along with frames that bind or rub after the first period of use. Check the track, rollers, interlock and centre seal carefully, and test the door at more than one point along its travel.
How can I tell if a window leak comes from the flashing or the glass?
Staining at the head or sill, or a damp reveal, usually points to flashing or sealant problems that let water in from outside. Fogging or moisture between the panes points to a failed glazing seal. The two faults need different trades, so describe the location precisely on your defect list.
Do I need a licensed inspector to check windows and doors?
You can do a useful self-check with a printed list, but a licensed inspector is better placed to identify installation faults, test flashing and sealant with experience, and assign each defect to the right trade. GoInspect’s services start from $550 including GST, and the final cost depends on the size and number of openings in the home.
If you have found a window or door fault in your new home and want to share how the builder responded, we would welcome your experience in the comments.
We would love your feedback and any insights you would share with others. What perspective would you add?