

A building re-inspection is the visit that decides whether your defect list is actually closed out or just marked “done” in a builder’s email. Many new-home buyers in Brisbane, the Gold Coast, Logan, Ipswich and Redland Bay find out the hard way that a repair can look finished from the driveway and still fail once the wall is painted or the door is hung. The re-inspection is your chance to check each item against the original report, with photos, before settlement. This guide explains what a re-inspection covers, how to prepare, what to do when items come back still open, and how to tell a real fix from a cosmetic one.
Table of Contents
- Quick Takeaways
- What a Building Re-Inspection Actually Covers
- Why Defects Come Back After Repair
- Preparing Your Defect List Before the Re-Inspection
- Running the Re-Inspection Step by Step
- Who Pays and When to Book a Re-Inspection
- Comparing Ways to Confirm a Fix
- When Items Are Still Open After a Re-Inspection
- Documenting a Proper Close-Out
- Frequently Asked Questions
- References
Quick Takeaways
| Key Insight | Explanation |
|---|---|
| Re-inspect against the original report | Compare every line item to its original photo and location, not to memory or the builder’s summary. |
| Book only after works are confirmed complete | A visit before the trades finish wastes a fee and gives the builder an excuse to dispute the result. |
| Assign a responsible trade to each item | Knowing whether the plasterer, tiler, carpenter or painter owns a fix tells you exactly who to chase if it returns. |
| Photograph repairs from the original angle | Matching angles make it obvious whether a crack has gone or has only been hidden by paint. |
| Test the repair, do not just look at it | Open doors fully, run taps for a minute, flush toilets, and tap tiles to listen for hollow spots where water or movement was the problem. |
| Turn open items into a dated written list | Every unfinished item needs a date, a responsible trade and a return deadline, sent to the builder the same day. |
What a Building Re-Inspection Actually Covers
A building re-inspection is a targeted follow-up visit. Its only job is to check whether the defects recorded at the first inspection have been fixed to a standard you can accept. It is not a second full pre-handover walk-through, although a good inspector will note anything new that catches their eye.

The distinction matters because many owners treat the re-inspection as a formality. In practice, it is the only point where someone independent compares the repaired work to the original photograph and description. Without it, you are relying on the builder to mark their own homework.
Industry guidance on final inspections makes the same point from the commercial side. Procore’s guide notes that a failed inspection can bring reinspection fees and delays that potentially stall a project for weeks. Residential buyers feel the same pressure, just with the settlement date in place of a construction schedule.
How a re-inspection differs from the first inspection
A first inspection reviews visible and safely accessible work within the agreed scope. A re-inspection checks the reported rectification work and can also identify new visible defects or damage where applicable. The scope should be confirmed when booking.
That narrower scope is why a re-inspection should be quicker and cheaper than the original. It is also why you should not skip the original photos. The re-inspector needs the same reference images to confirm that the repaired area matches what was recorded, not a nearby spot that looks similar.
What the inspector checks on the second visit
On each item, the inspector checks location, appearance, function, and whether the repair has created a new problem. A patched plaster crack is checked for both finish and ongoing movement. A reinstalled door is checked for alignment, latch engagement and clearance above the floor.
Queensland’s guideline on inspections of class 1 and class 10 buildings sets out the legislative provisions for inspecting assessable building work. It is worth reading if a dispute goes beyond what the builder is willing to fix and you need to understand where the rules sit.
Why Defects Come Back After Repair
Most returned defects are not caused by a builder who ignored the report. They come from repairs that treat the symptom and leave the cause in place, or from fixes that look right on the day and fail under normal use. In practice, a re-inspection that finds nothing open is the exception, especially on projects where several trades work in the same rooms.
Cosmetic fixes that hide the defect
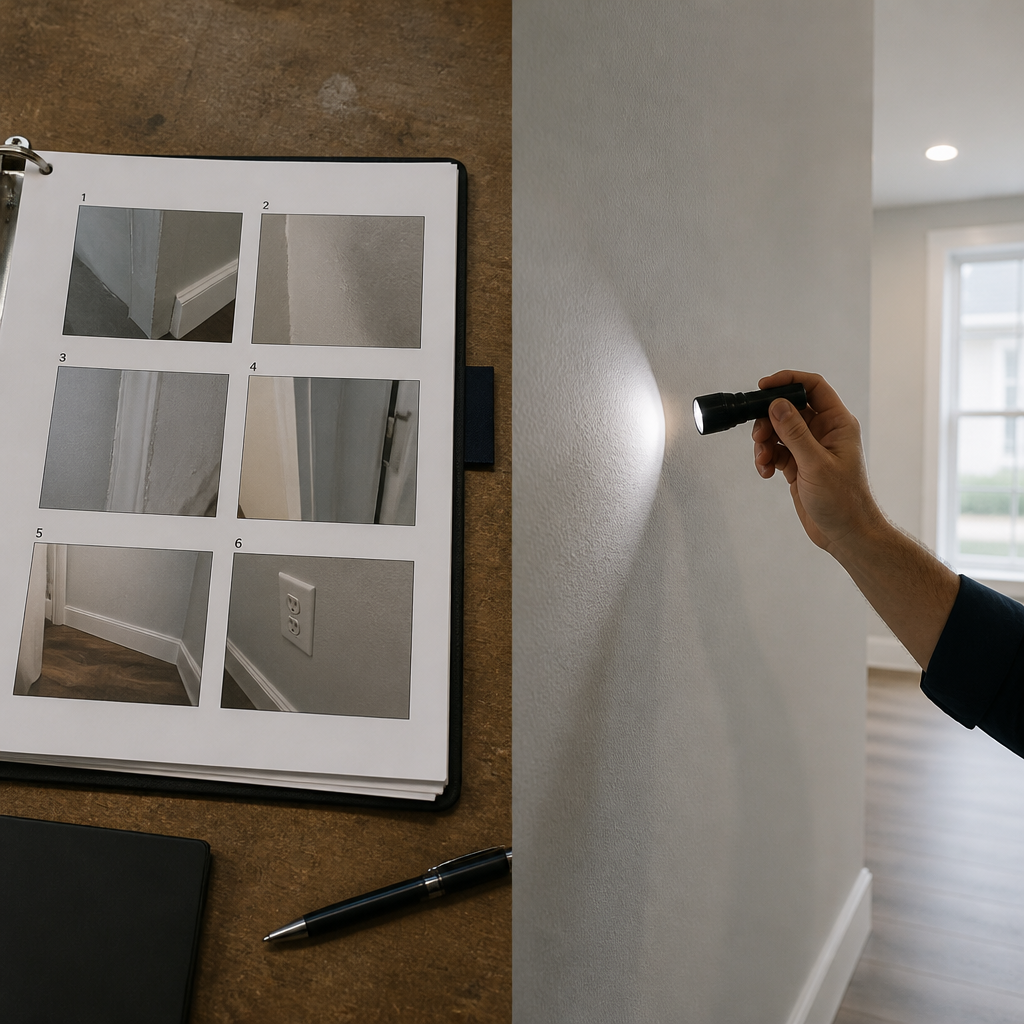
A hairline crack filled and painted over will look finished under a torch for a week. Paint hides a lot, and a filled crack often reappears along the same line once the wall has been through a few seasons of heat and cooling. The re-inspector should check the crack line at an angle and ask what caused the movement, not just whether the surface looks smooth.
Water issues follow the same pattern. A bathroom floor patched around a waste outlet can pass a dry check and then show damp under the vanity after the first full shower cycle. That is why a re-inspection should include a functional test wherever water is involved, not only a look at the finished surface.
Sequencing problems between trades
Defects also return because a later trade damages an earlier fix. A plasterer patches a wall, then an electrician cuts a chase through the same area, and the repaired surface is gone. Painters who finish before the carpenter adjusts a door or window will often find fresh paint scuffed along the same frame.
When you see a repeat defect, check the build sequence before blaming the original repair. Ask the builder which trades worked in that room after the fix, and in what order. If the answer is vague, the defect is still open, whatever the builder’s summary says.
Preparing Your Defect List Before the Re-Inspection
A re-inspection is only as good as the list it works from. If the original report is a set of vague notes, the follow-up visit will be vague too. Before you book, turn the report into a working checklist that someone could follow without you there.
Turning the original report into a checklist
Start with each defect number, its room or external location, and its photo reference. Add a column for the responsible trade, since a repair is far easier to chase when you know whether it belongs to the plasterer, the tiler, the carpenter or the painter. If the original report has no trade assigned, ask your inspector or builder to allocate one before the re-inspection.
Group the items by room, not by trade. The re-inspector will walk the house in a logical path, and your list should follow that path. A list grouped by trade sends the inspector back and forth across the same floor and adds time you pay for.
Confirming the builder is actually ready
Ask the builder to confirm in writing which items are complete and which are still in progress. Do not book the re-inspection until that confirmation is in your inbox. A visit on a half-finished item costs you a fee and gives the builder a reason to say the inspector came too early.
Also check access. Some defects, such as a damp patch behind a wardrobe or a rattling window in a locked room, need someone to move furniture or unlock a room. Arrange that before the visit, not during it.
Pro tip: Ask for the original photos at full resolution. Compressed copies from a messaging app make it hard to tell whether a crack has moved or just looks different in better light.
Running the Re-Inspection Step by Step
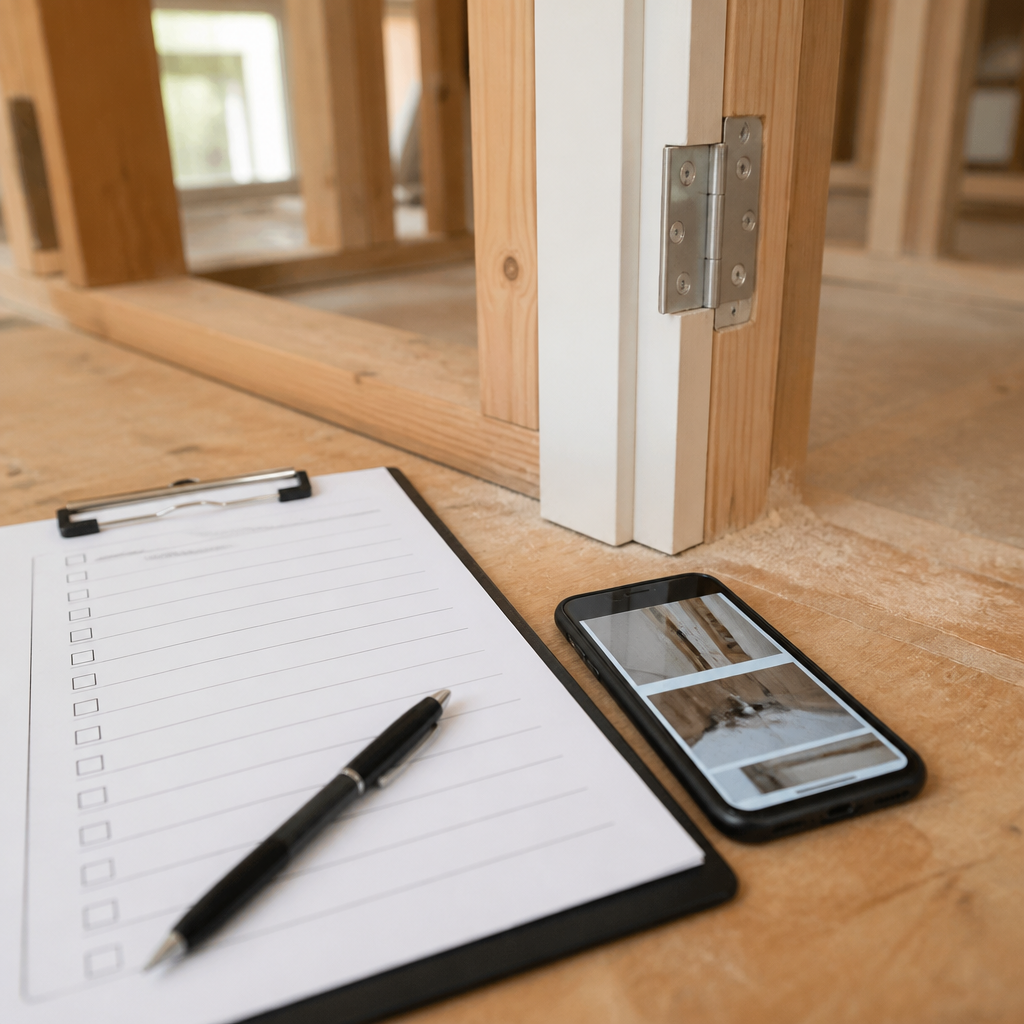
A good re-inspection follows a fixed order. Start at the entry, work through each room in the same direction, and finish at the exterior. A fixed route means nothing gets skipped, and the report can be read back against the walk-through.
The walk order that catches the most problems
Begin with doors, windows and locks, since these are the items most likely to have been adjusted and least likely to be tested by the builder. Move to wet areas next, where the defect is often a water pathway rather than a visible mark. Finish with external items such as downpipes, gutters, paths and drainage, where water movement is easiest to see after rain.
Tests to run on each item
The appropriate check depends on the reported issue and agreed scope. Accessible doors can be checked for ordinary opening, closing and latching operation. A photo or surface check alone may not establish the cause of a recurring leak or the condition of concealed work. Discuss additional investigation where needed.
A defect that has not been tested under the conditions that caused it is not proven fixed. Looking at a repair tells you about the surface. Only a test tells you about the defect.
Record each result as pass, fail or not testable. Items marked not testable need a date for a follow-up check, such as after the next heavy rain. Leaving those blank is how a repaired leak turns into a dispute.
Who Pays and When to Book a Re-Inspection
Costs and timing cause more friction than the defects themselves. Builders often expect the re-inspection to be scheduled as soon as they say the work is done. Buyers often want to wait until settlement is close. Neither approach is right by default, so agree the timing in writing before the first visit.
Who pays for a failed re-inspection
Terms vary by contract, so check your building contract and any pre-handover agreement before assuming the builder will cover the cost. In practice, a re-inspection that finds open items again is usually where cost disputes start. Keep the first report, the builder’s completion confirmation and the second report together so the record is clear.
Get a current re-inspection quote based on your property and service. GoInspect second inspections following our own first visit use the findings already recorded.
Timing around settlement and the defect liability period
Book the re-inspection after the builder has finished the work and before settlement pressure forces a rushed sign-off. In Queensland, statutory warranty periods differ between structural and non-structural defects, so confirm the current periods with the regulator or a solicitor rather than relying on a figure from memory. The sooner an item is identified, the more time the builder has to fix it within any warranty or defect period that applies.
Avoid booking a re-inspection in the same week as a final walk-through. Two visits in quick succession leave no time for fixes to settle or for you to check them under normal use.
Comparing Ways to Confirm a Fix
Not every method of checking a repair gives the same level of certainty. These are the three approaches that come up most often in new-home defect disputes, and where each one falls short.
Three ways to verify a fix
| Verification Method | What It Confirms | Where It Falls Short |
|---|---|---|
| Builder’s written completion notice | The builder believes the work is finished and has allocated it to a trade | No independent check, and the wording often says “rectified” without showing the repair |
| Builder’s photo update only | The repaired area looks finished from the angle the builder chose | Photos are often taken from the wrong angle, lack a link to the original defect, and do not test function |
| Independent re-inspection with a photo-enhanced report | Each item is checked against its original photo, tested where relevant, and matched to a responsible trade | Only as good as the original list, so it works best when the first report was specific |
The photo-only update is the one most owners accept by default, and it is the one I would trust least on its own. A photo cannot show whether a door latch engages under load or whether water is still tracking under a tile edge. An independent re-inspection that matches each item to its original photo closes that gap, which is why our reports are built around those matches.
Written sign-offs have a role, but treat them as a claim rather than evidence. Keep the sign-off on file, then check the work against it.
When Items Are Still Open After a Re-Inspection
A failed re-inspection is not a disaster if it is handled well. The usual problem is that open items get discussed on the phone, forgotten, and then reappear at settlement as a new argument. Turn every open item into a dated, written list before you leave the property.
Writing the open-items list
Each open item needs four things: the original defect reference, what the re-inspector found, the responsible trade, and a return deadline. Send the list to the builder the same day. If the builder disputes an item, the dispute goes in writing alongside the photo, not into a call nobody remembers.
Escalating when the builder stalls
If the builder stops responding or keeps sending the same trade back without fixing the root cause, escalate in writing and keep the timeline. Ask for the rectification date, the trade assigned and the reason the earlier fix did not hold. Where a contract or statutory warranty applies, that written record is what you will need if the matter goes further.
A common mistake is accepting a partial fix just to get the keys. Settling is sometimes unavoidable, but a signed close-out for an item that is still open makes it much harder to pursue that item later.
Documenting a Proper Close-Out
A close-out is the point where every item on the original list is marked as fixed, not fixed, or accepted with a written reason. This document is the reference you will open years later when a wall cracks again, so it has to stand on its own.
What a closed-out report should contain
Each line should show the original photo, a post-repair photo taken from a matching angle, the test result, the date, and the name of the trade or company that did the work. A line that says “fixed” with no photo is not a close-out. Ask for the report in a format you can search, not as a set of images scattered through a chat thread.
Keeping the file for future claims
Store the original report, every re-inspection report, the builder’s completion notices and any correspondence in one folder. Back it up outside your phone. Warranty claims and disputes often turn on the dates and wording of the earliest documents, and a complete file is what makes them straightforward to pursue.
Pro tip: Photograph each repaired item with the same phone, at the same distance and from the same angle as the original photo. A side-by-side comparison tells you more in ten seconds than a paragraph of notes.
Frequently Asked Questions
How soon after handover should a building re-inspection happen?
Book it once the builder has confirmed in writing that the listed works are complete, and before settlement pressure leaves no room for a second visit. Do not book it on the same day a fix is finished, because the repair needs time to be tested under normal use.
Can I do a re-inspection myself?
You should check items yourself, both to prepare the list and to spot obvious problems. A self-check is not independent, though, so have a licensed inspector verify the repaired items against the original report before you sign anything off.
Who pays if the defect is still there after a re-inspection?
It depends on the building contract and the type of defect. Check the contract first, keep the original report and the re-inspection report together, and put every open item to the builder in writing.
What if the same defect returns after the builder says it is fixed?
Record it with a new date and photo, then check the build sequence to see whether a later trade caused it. Ask the builder for the root cause in writing, along with a firm rectification date.
Is a building re-inspection the same as a final inspection?
No. A final inspection is a formal milestone in the construction process, while a re-inspection is a targeted check of defects that were already recorded. The two serve different purposes, and a re-inspection only revisits what the first report found.
Have you had to book a second visit to confirm a builder’s fix, and what did it reveal that the first sign-off missed?
References
- Final building inspection process, reinspection risks and best practices in Australia
- Queensland guideline on inspections of class 1 and class 10 building work
- Australian building inspection checklist and what to record as evidence