
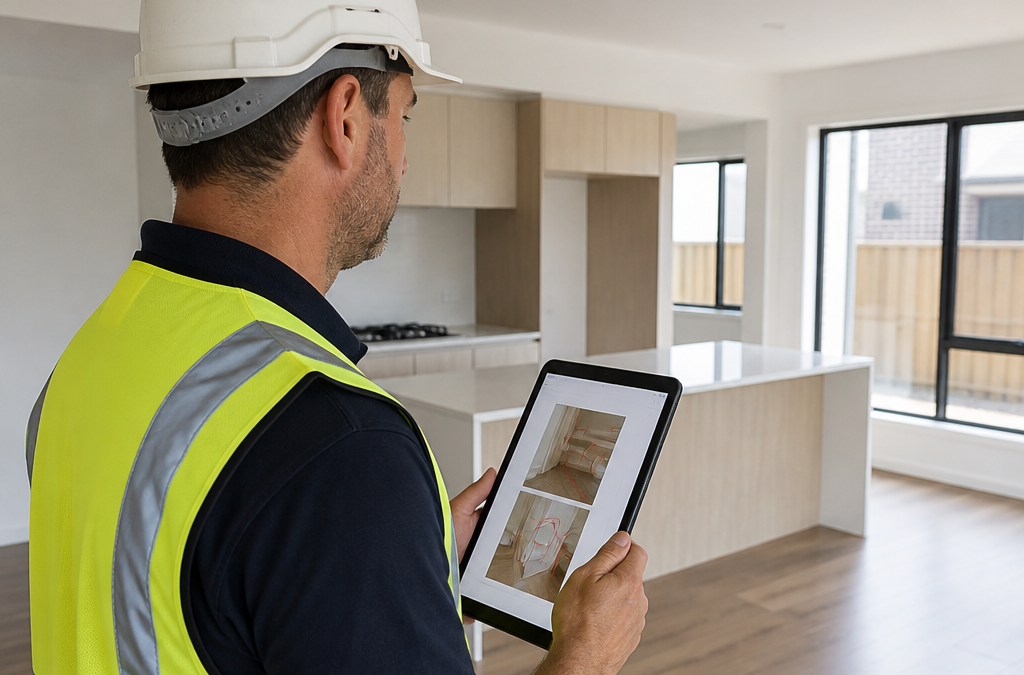
Inspection day for a new home is the moment many buyers realise they have no idea what they are actually looking at. The keys are almost in hand, the carpets are down, and the pressure to sign off is building. Knowing what to expect in a building inspection turns that morning from a nervous guess into a structured check that you control.
This walkthrough follows a typical new home inspection from the booking call to the report in your inbox. It covers what to prepare, how inspectors work through each room, how defects get recorded, and what to do with the findings. The process below reflects how we run inspections across Brisbane, the Gold Coast, Logan, Ipswich and Redland Bay.
Table of Contents
- Quick Takeaways
- Before the Inspector Arrives
- The Room by Room Walkthrough
- How Defects Get Recorded
- Trade Responsibility and Same Day Reports
- What Happens After Inspection Day
- Frequently Asked Questions
- References
Quick Takeaways
| Key Insight | Explanation |
|---|---|
| Book for the final walkthrough window | Inspect once the home is finished, cleaned and fixtures are installed, so defects are visible rather than hidden behind unfinished work. |
| Bring access and paperwork | Have your contract, approved plans and specification ready. The inspector needs access to every room, the garage, and roof space where it is safe to enter. |
| Expect a fixed room-by-room sequence | Most inspections move from the exterior and roofline through internal rooms, wet areas and services. Following the same order lets you track what has been covered. |
| Every photo should match a location | A useful report links each photo to a room, a plain description and a severity rating, so the builder can find the exact problem without a phone call. |
| Defects should name the responsible trade | An item assigned to a tiler, electrician or plumber usually gets rectified faster than a general list addressed to the builder. |
| Same-day reporting protects your deadlines | Receiving the report on the day gives you time to lodge rectification requests before the handover or settlement date. |
Before the Inspector Arrives
The most common mistake we see is booking too early. If the kitchen splashback is not on, the balcony balustrade is still wrapped in plastic, and the builder has a crew on site for the final clean, the report fills up with “not yet installed” notes that tell you nothing about the build quality. Timing is the first decision that matters.
Book for the window between practical completion and the final walkthrough, when the home is finished enough to judge but before you take possession. Confirm the date with the builder in writing, because a verbal booking on site often slips when a trade runs late.
Confirming Access and Timing
Roof and concealed-area coverage depends on the agreed inspection scope and safe access. GoInspect’s standard residential inspection does not include an external roof inspection. A drone roof inspection can be arranged for an additional fee. Confirm any roof-void, subfloor or other specialist access requirements before booking; an inspection cannot assess every concealed element.
Documents to Have Ready
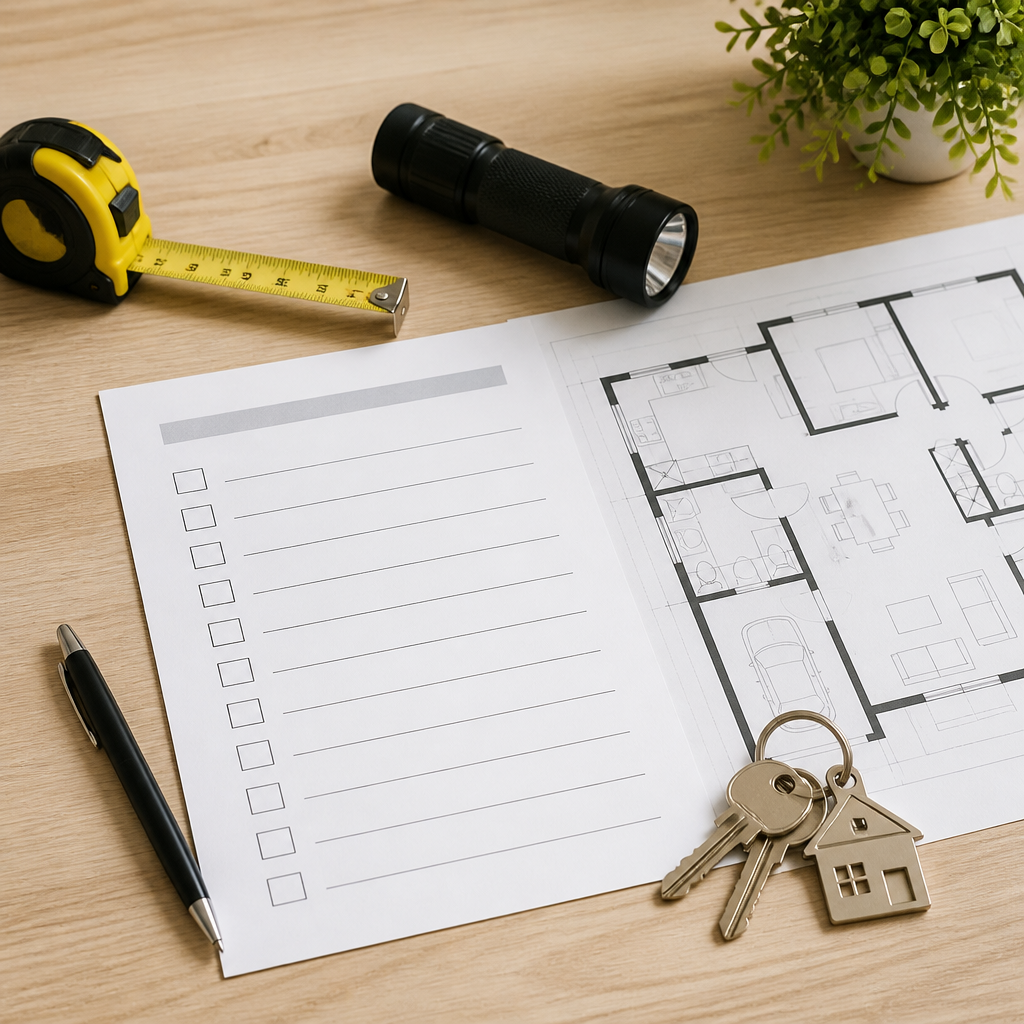
Bring your contract, the approved plans and the specification list. The specification is where you find what should have been installed, such as flooring type, tapware finish, or the number of power points in a study. Without it, an inspector can only point at what looks wrong, not at what was promised to you.
Pro tip: Print the specification and mark each item you want checked. A marked-up copy lets the inspector confirm the agreed finish instead of guessing what you expected.
The Room by Room Walkthrough
A well-run inspection starts outside, not inside. The exterior shows how the builder handled drainage, cladding and roofing before you get distracted by the kitchen. Expect the inspector to walk the perimeter first, then move through the house in a set order so nothing is missed.
Exterior, Roofline and Drainage
Check gutters, downpipes and roof flashings for gaps and misaligned sheeting. Look at how the ground falls away from the slab, because water pooling against the footings is a common problem on newer estates. Note any cracking in render or brickwork, and check whether the eaves and fascia are straight and sealed.
Internal Rooms and Wet Areas
Inside, the inspector checks doors, windows, walls, ceilings and flooring for alignment, finish and damage. Wet areas deserve the most attention. Bathrooms, laundries and the kitchen need checks on tile grout, silicone joins, floor waste outlets, and whether the shower screen and vanity sit level. A small gap around a bath is cheap to fix now and expensive once water has tracked into the subfloor.
Ask for every tap to be run and every toilet flushed while the inspector is in the room. Water pressure, drainage speed and leaks under sinks only show up when water is moving. Look at the wall behind the cistern and under the vanity, because early moisture staining often appears there first.
Garage, Kitchen and Services
During a GoInspect handover inspection, accessible cabinetry, doors and windows are checked within the agreed scope. Appliances are not tested. Electrical safety testing, appliance commissioning and specialist service checks need separate arrangements; ask the builder for the relevant records.
How Defects Get Recorded
A defect is only useful if the builder can find it, understand it and fix it. That is why each item should have a photo, a room reference and a short plain description. “Cracked tile in ensuite near shower entry” gets actioned. “Bathroom issue” gets argued about.
In practice, buyers who read the report while standing in the house resolve issues faster than those who wait until the evening. Keep the report open on your phone as you walk through, and ask the inspector to point out each item as it is recorded. You will catch wording errors on the spot, which is far easier than correcting them after the builder has already responded.

Photo Tagging and Location
Each photo should show one defect clearly, with enough surrounding context to identify the room. A close-up of a scratch is hard to place without a wider shot. Good reports pair a wide image with a close one, so the builder cannot claim the inspector was looking at a different wall.
A defect nobody can locate is a defect nobody will fix. The report earns its keep when a site supervisor can walk straight to the spot without a phone call.
Severity and Plain Language Descriptions
Not every defect carries the same weight. A chipped paint mark on a door architrave is a finish item, while a cracked lintel or a failed waterproofing membrane needs urgent attention. Ask for each item to carry a severity rating so you know what to raise before handover and what can go on a later list. Be wary of reports that label everything as minor without explanation, because that approach buries the items that need a licensed tradesperson or an engineer.
Trade Responsibility and Same Day Reports
Defects are rarely the fault of one party in isolation. A cracked tile may come from the tiler, a loose downlight from the electrician, and a sticking door from the carpenter who hung it. Naming the likely trade shortens the time between reporting and rectification, because the builder can send the right person without a round of phone calls.
Timing matters as much as detail. A report that arrives a week later leaves little room to negotiate before handover. Same-day reporting puts the findings in front of you while the inspector’s notes are fresh and the site is still open.
Assigning Defects to Trades
We assign each defect to the trade most likely to have caused it, and we note when the cause is unclear. That matters when a leak could originate from a plumber’s joint or a roofer’s flashing. Listing both possibilities is more honest than guessing, and it tells the builder which subcontractor to check first.
Same Day Reporting in Practice
Same-day reporting means you can read the full report that evening and send a written request to the builder the next morning. If the builder is slow to respond, you have dated photos and notes to point to. Keep copies of everything, including emails, because a verbal agreement on site is hard to enforce later.
The table below compares the three approaches buyers most often consider for checking a new home before handover.
| Approach | What It Covers | Main Limitation |
|---|---|---|
| Self-guided walkthrough | Whatever you notice with a checklist, usually finishes and obvious damage | Easy to miss concealed issues, and there is no formal written record the builder must respond to |
| Builder’s own handover check | Items the builder has already signed off against its own program | The builder assesses its own work, so subcontractor defects may be downplayed or delayed |
| Independent pre-handover inspection | Structured room-by-room review, photo-based defects, trade assignment and same-day reporting | Costs money and must be booked early, so timing has to be planned around the handover date |
What Happens After Inspection Day
Inspection day does not end when the inspector drives away. The report starts the rectification process, and the way you respond shapes how quickly the builder fixes each item. A list sent as an attachment with no cover note often gets filed. A clear, numbered request tied to the report usually gets actioned.
Keep the rectification list separate from general concerns. A missing cover plate needs a quick fix, while a drainage problem may need a longer scope and a later date. Sorting items into these groups early stops a standoff over small items from holding up the one defect that matters most.
Reading the Report Properly
Read the summary first, then go through each room with the photos beside you. Check that every item in the specification has been confirmed, marked as defective, or flagged as not yet installed. If something is missing from the report, ask for it to be added rather than assuming it was fine.
Lodging Rectification Requests
Send one written request that lists each item by room, description and photo reference. Ask for a rectification date for each item and a named contact on the builder’s side. Keep the tone factual, because a request that reads like an argument invites a defensive response.
Pro tip: State a response deadline in your cover email, and note in writing that a re-inspection will be booked if items remain open. That single line often speeds up the first round of fixes.
Re-inspection and Sign Off
Plan a re-inspection of rectified items, particularly waterproofing, structural repairs, and any electrical or plumbing work. Walk the fixed items with the same report open and tick them off one at a time. Do not sign off the handover until the open list is either closed or formally agreed as a later item.
Frequently Asked Questions
How long does a new home inspection take?
Agree the accessible areas and any specialist roof or concealed-area checks with your inspector before booking. Record access limitations in the report.
Should I attend the inspection in person?
Attending is strongly recommended. You can ask questions as defects are found, which makes the report easier to understand later. If you cannot attend, make sure the inspector has your written list of concerns and that you receive the photo-based report the same day.
What is the difference between a new home inspection and a pre-purchase inspection?
A pre-purchase inspection usually looks at an existing home and its general condition. A new home inspection checks a property that is complete or nearly complete against the contract, plans and specification before handover. The focus is on installation quality, finishes and defects the builder is obligated to fix.
What should I do if the builder disputes a defect?
Respond in writing with the photo reference and the relevant specification item. If the disagreement remains, ask for the defect to be recorded as an open item and seek guidance from your state’s building regulator or a dispute resolution service. Keep every email and dated photo, because that record carries weight if the matter escalates.
How much does a new home inspection cost?
Our new home inspections start from $550 including GST, with final pricing depending on property size and scope. Confirm in writing exactly which areas and reports are included before you book, so there are no surprises on the day.
When should I book the inspection?
Book once practical completion is close and the home is nearly finished, ideally before the final walkthrough deadline in your contract. Confirm access with the builder in writing, and allow time for a re-inspection in your settlement or handover plan.
Tell us about your own handover experience, and what the walkthrough turned up that you did not expect.
We would love your feedback and any insights you would share with others. What perspective would you add?