

Most developers using multi-stage inspection reports do not struggle to find defects. They struggle to prove that the defects were fixed. A single handover checklist captures one moment, the list goes to a site manager, three trades partly action it, and nobody checks it again. Multi-stage reporting closes that gap by recording the same units and the same defect items at several inspection points, so each repair is confirmed rather than assumed. For developers running projects across Brisbane, the Gold Coast, Logan, Ipswich and Redland Bay, that difference shows up as fewer disputes, shorter handover delays and a defect record that still holds up months later.
Table of Contents
- Quick Takeaways
- Why Multi-Stage Reporting Beats a Single Handover Checklist
- Mapping Inspection Stages to the Build Timeline
- Building a Defect Register That Survives Every Stage
- Tracking Rectification Status Between Visits
- Comparing Defect Tracking Approaches
- What Builders and Buyers Need From the Report
- Common Mistakes in Defect Rectification Tracking
- Frequently Asked Questions
- References
Quick Takeaways
| Key Insight | Explanation |
|---|---|
| Log each defect once and carry it forward | Reissuing a fresh list at every visit makes it impossible to see what was fixed, what was reopened and what was never raised. Keep one defect ID per item across all stages. |
| Tie every defect to one responsible trade | A defect assigned to “the builder” gets no action. Name the trade, such as waterproofing, tiling or plumbing, so the rectification has a clear owner. |
| Take photos at the time of logging | Photos from the first inspection become the baseline for re-inspection, which ends arguments about what the original condition actually was. |
| Close items only after re-inspection | A repair confirmed by a text message from site is still open until an inspector checks it and records the result against the original defect ID. |
| Separate cosmetic items from functional failures | A scuffed skirting board sitting next to a leaking shower hides the defects that matter most for compliance and buyer safety. |
| Book every stage before handover pressure builds | Scheduling the pre-handover, pre-settlement and practical completion visits at the start of the program keeps rectification windows realistic. |
Why Multi-Stage Reporting Beats a Single Handover Checklist
A handover checklist answers one question: what was wrong on the day someone walked through the unit? That is useful, but it does not answer the question developers get asked later, which is which defects were fixed, when, by whom, and whether the fix was verified. Multi-stage reporting turns a one-off inspection into a sequence of linked records.

The difference is most visible in defects that are hard to close. A cracked tile or an out-of-level door is usually fixed in one visit. A fault in wet area waterproofing, a ceiling stain that only appears after the first heavy rain, or a balcony drainage issue often takes two or three attempts. A single list has nowhere to record that history. A staged report does.
Industry guidance on construction inspections makes a similar point. CMiC’s guide to construction site inspections describes a checklist as both a procedural tool and a compliance record, one that standardizes evaluation criteria so inspections stay consistent across teams and project phases. That consistency is what lets a developer compare the first and final inspection of the same unit without wondering whether the standard shifted in between.
The second benefit is accountability. Layer’s breakdown of assessments, inspections and surveys describes an inspection as verifying whether a condition meets a defined requirement, with an output that either confirms compliance or identifies noncompliant conditions that need correction. Multi-stage reports extend that logic. Each stage asks whether the earlier noncompliant condition now meets the requirement.
A defect that is logged but never re-inspected is an opinion about a repair, not evidence of one.
Mapping Inspection Stages to the Build Timeline
The stages matter because each one answers a different question about the unit. The pre-handover inspection asks whether the building is ready to hand over. The pre-settlement inspection, usually closer to the buyer’s settlement date, checks what the buyer will actually live with. Practical completion inspections, tied to the builder’s contract milestone, confirm the work is finished to the agreed standard. Each stage sees things the previous one could not.
Pre-handover inspections: catching structural and services faults early
A pre-handover visit is where the big-ticket items should surface: water penetration, incomplete services labelling, doors that do not latch and balustrades that differ from the drawings. These are the defects that take longest to fix, because the trade responsible has often already left site. Logging them early gives the site team time to book those trades back in before the handover date.
Pre-settlement inspections: checking what changed after the first visit
The pre-settlement inspection is the second look, and the one buyers care about most. Work done between handover and settlement, such as paint touch-ups, sealing and appliance installation, can fix old defects and create new ones. The report should show which earlier items are closed, which remain open and which are new. Without that comparison, the buyer’s inspection and the developer’s list drift apart.
Practical completion: confirming trade sign-off
At practical completion, the goal is closure rather than discovery. Every item should be either verified closed or formally carried forward with a named trade and a target date. A common failure is treating practical completion as a formality and leaving items open because nobody wants to be the person who delays sign-off.
Pro tip: Schedule the pre-handover visit well ahead of the handover date, not in the final week. That gap is the only window in which a structural or waterproofing defect can be fixed without pushing the program back.
Building a Defect Register That Survives Every Stage
The defect register is the spine of a multi-stage report. Snagging reports are widely described as a core tool for documenting and rectifying construction defects, but the value comes from keeping one register across the whole sequence. Each row needs a unique identifier, the unit and location, a description, the responsible trade, the date first logged and a status that changes only when a re-inspection says so. If the register is rebuilt at every visit, the history is lost and the developer is back to comparing two PDFs by eye.
Assigning each defect to one trade
Assigning responsibility sounds obvious, yet it is where many lists break down. A leaking window might be a glazing installer’s seal, a flashing detail by the cladding contractor or a drainage fault by the plumber. The inspector’s job is to name the most likely trade based on the evidence and record why. Some defects will be disputed, and a short note explaining the assignment makes that conversation far shorter.
Photo evidence that holds up later
Photos are most useful when they are taken the same way each time. Shoot the defect at a consistent distance, include a wider shot showing the room, and capture a fixed reference point such as a window or door frame. A baseline photo taken at the first inspection lets the re-inspector see exactly what changed, so nobody has to argue later about the original condition.
Photos should also carry the date and the defect ID in the caption. A photo that cannot be tied to a register row is just a picture, and it will not stand up if the file is needed for a dispute.
Tracking Rectification Status Between Visits
Between inspection stages, the defect register should do most of the work. The builder or trade updates the status, but the status only moves to closed after an inspector confirms the repair. That separation matters, because a builder’s message that an item is fixed is a claim, and a re-inspection result is evidence.
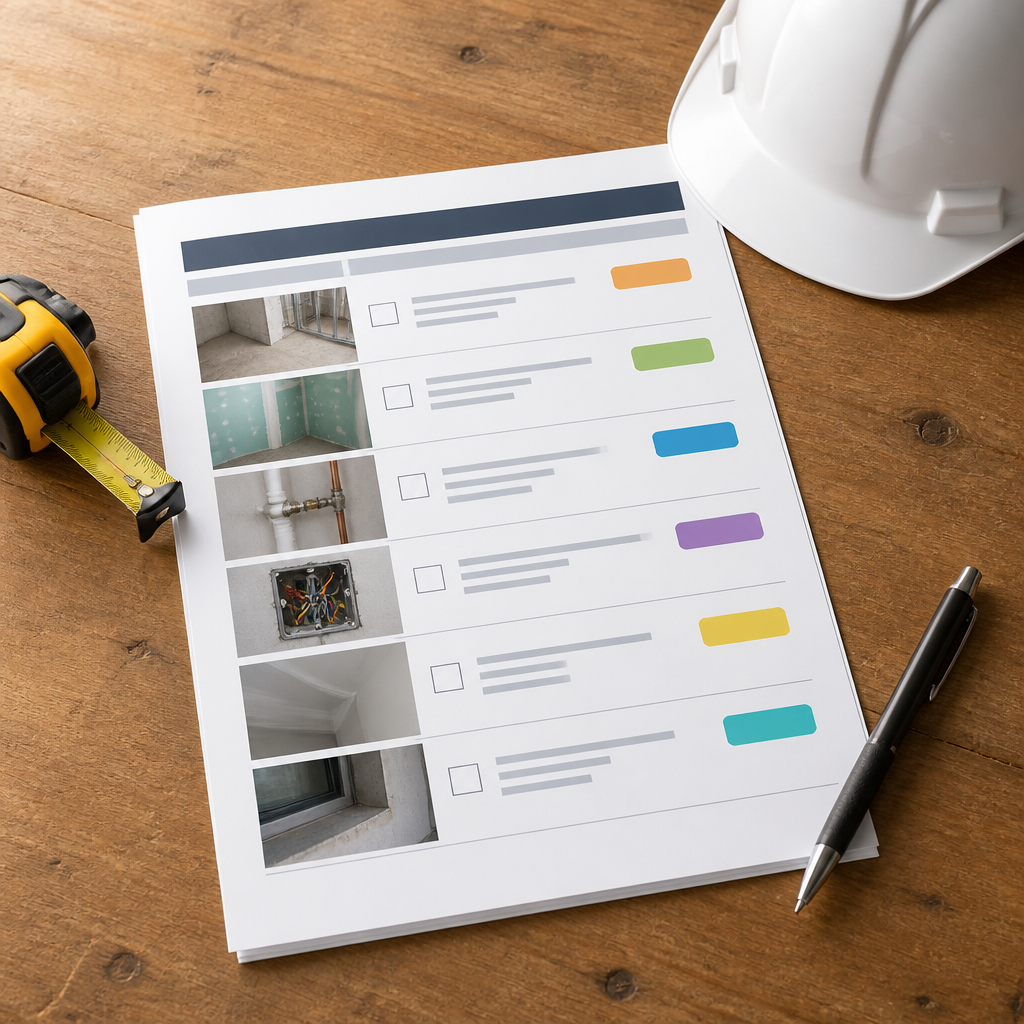
Some developers use a simple open or closed flag. That works for a handful of items but hides the stages in between. A more useful set of statuses separates items that were raised, assigned, rectified, verified and reopened. Reopened items deserve their own status, because a repeated failure usually points to a workmanship problem rather than one missed task.
Status categories that mean something
Five statuses cover most projects: raised, assigned, rectified awaiting verification, verified closed and reopened. Each implies a different action. Raised items need a trade. Rectified items need a visit. Reopened items should trigger a review of that trade’s work on other units, since the same fault often appears more than once.
Scheduling re-inspections without stalling handover
Re-inspections are where most projects lose time. Book them in batches by trade and by floor, not as individual callbacks. If the plumber’s fixes on levels three and four are checked in one pass, the inspector confirms several items at once and the trade gets one sign-off window instead of six separate ones. On a high-rise, that scheduling choice often decides whether handover slips or holds.
Comparing Defect Tracking Approaches
Developers usually track defects in one of three ways. Each can work on a small job, but only one holds up across several inspection stages on a multi-residential build.
| Approach | Where It Works | Where It Breaks Down |
|---|---|---|
| Shared spreadsheet defect log | Small projects with one builder and few units | Version conflicts, no photo baseline, and status changes nobody can trace back to a date or person |
| Single handover checklist | Simple detached homes with one inspection and one trade sequence | No rectification history, so reopened items reappear unnoticed |
| Multi-stage photo-enhanced report | Multi-residential and staged handovers with several trades | Requires disciplined logging and a clear owner for each stage, and costs more than a one-off checklist |
The spreadsheet is the most common starting point, and it is fine until the second inspection. The problem is rarely the tool itself. A spreadsheet has no locked defect IDs, no protected history and no reliable way to show who changed a status and when.
The single checklist is cheaper and quicker, which is why it persists. For a house with one owner and one trade sequence, it may be enough. On a building with dozens of units, the lack of history becomes the main cost, because the developer cannot prove an item was closed in the first place.
A multi-stage report matches how defects actually behave. It assumes a repair may take more than one attempt, that several trades are involved, and that the buyer will look at the record months after settlement.
What Builders and Buyers Need From the Report
A report that serves only the developer is half a report. Builders need to know exactly what to fix, where, and how the inspector will judge it. Buyers need to know what was found, what was fixed and what is still open at settlement. The same register can serve both if the descriptions are written in plain terms.
What builders need to act on
Builders act fastest on reports grouped by trade and location. A list sorted by unit number forces a tradesperson to read the whole document to find their jobs. A trade-specific extract, with the photo, location and expected fix for each item, usually gets the work booked the same week. Vague wording such as “check bathroom” costs time the program does not have.
What buyers need to understand
Buyers rarely read the full register, but they do read the summary and the open items. Plain descriptions work better than technical shorthand. “Shower wall junction may leak, repair booked with the waterproofing contractor, re-test to follow” tells a buyer far more than a code reference they cannot interpret. Where an item is still open at settlement, the report should show the trade, the target date and the re-inspection result that follows.
A study on building inspection and defect rectification looks at how contractors and house buyers each view the process, which supports the idea that one report has to serve both groups.
Common Mistakes in Defect Rectification Tracking
Most tracking failures come from habits rather than missing software. Three show up repeatedly on multi-residential projects, and each one is avoidable.

Closing items on a verbal confirmation
A site supervisor says the cracked render has been patched, and the item gets closed in the register. Two weeks later the patch has lifted, and nobody can say who checked it. Closing an item without a re-inspection result is the fastest way to make a register untrustworthy. If the inspector did not see the repair, the item is still open.
Re-inspecting only the units that failed
Developers often re-check only the units where a defect was found. That misses the same fault in neighbouring units built by the same crew in the same week. A practical approach is to widen the check once the same fault appears on more than one unit, covering every unit that shares that trade’s sequence.
Mixing cosmetic and functional defects in one priority
A missing cover plate and a non-compliant balustrade should never sit at the same priority. When both appear on one list with equal weight, the cosmetic items get fixed first because they are quicker. Use a separate priority tier for life-safety, water ingress and compliance items, and make those the first things a trade must clear before handover.
Pro tip: Ask each trade to sign the rectification record on the same day they finish the work, with the defect ID written beside their signature. The sign-off trail saves weeks of argument later, and the trade still remembers the job clearly.
Frequently Asked Questions
What is a multi-stage inspection report in property development?
It is a set of inspection records covering the same units and defect items at several points, such as pre-handover, pre-settlement and practical completion. Each defect can be followed from first logging to verified closure.
How is a multi-stage report different from a standard handover inspection?
A standard handover inspection records defects at one point in time. A multi-stage report links each defect to its earlier entries, shows which were rectified and which were verified, and keeps the photo baseline, so reopened items stay visible.
Who should own the defect register on a multi-residential project?
The developer or its appointed project manager should own the register. Inspectors update findings and trades update rectification status. Keeping ownership in one place stops several parties editing the register without a trail.
How long should a defect stay open before it is escalated?
There is no universal number, because it depends on the contract, the defect type and the trade’s program. A practical approach is to set a target date for each item when it is logged, then escalate any item that passes that date without a rectification record.
Can a multi-stage report help with buyer disputes?
It can. A dated record showing the defect, its assignment, the rectification and the verification gives both sides the same facts. It does not replace legal advice if a dispute escalates, so check the contract and speak with a qualified professional when needed.
If you manage defect rectification on a multi-residential project, tell us which tracking method your team uses now and where it breaks down.