
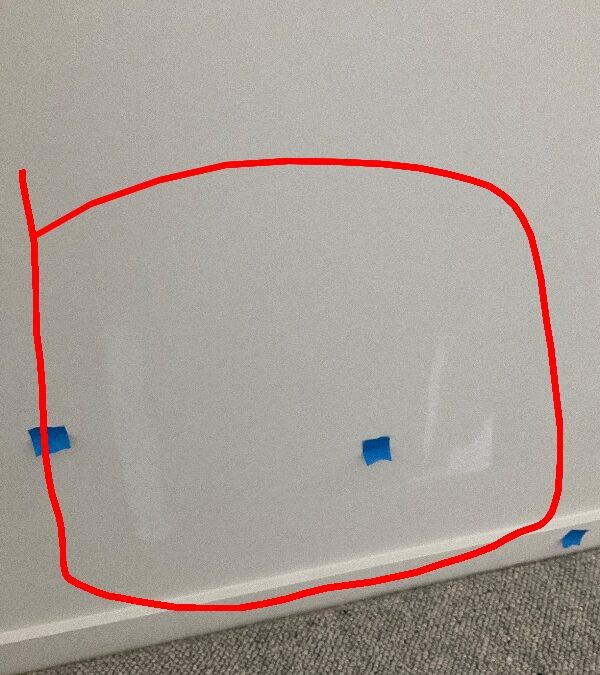
Paint defects in new homes are best recorded before handover, alongside unfinished plaster, chipped tiles and gaps in grout. Start with the room as you would normally use it, assess the finish under suitable lighting, then take closer photographs to explain each concern. A dramatic torch shadow or a close-up alone is not a reliable way to decide whether a wall finish is defective.
This checklist covers paint, plaster and tile finishes you can discuss with your builder at a new-home handover inspection. The examples show separate findings from GoInspect inspections, including paint on hinges, plaster pitting, a chipped tile and grout pinholes.
Takeaway: check the whole room first, record the precise location and visible condition, and ask for a clear repair and follow-up plan. Keep appearance concerns separate from symptoms that need further investigation.
QBCC painting standards: what is a normal viewing position?
For general surfaces such as walls, ceilings and floors, section 1.4 of the QBCC Standards and Tolerances Guide uses a viewing distance of 1.5 metres or greater, with diffuse light rather than light skimming along the surface. Other items have different assessment conditions, so this is not a universal distance for everything in a home.
Section 13.2 addresses visible paint blemishes and excessive paint over fittings or finished edges. Use the relevant criteria, timeframes and agreed specification when discussing an item, rather than treating every small variation as automatically defective.
A practical approach is to stand back, look across the room and note what remains visible. Then move closer to identify the location. If a photograph exaggerates or hides the concern, add an overview and explain the lighting conditions instead of relying on that image alone.
Does shining a torch along the wall prove a plaster defect?
No. Gyprock’s glancing-light guidance explains how light striking a surface at a shallow angle casts shadows that emphasise joints and small irregularities. Dulux’s plasterboard finish advice also explains how lighting, sheen and colour affect the appearance of a finished wall.
A torch may help locate something for closer investigation, but it should not replace the applicable appearance assessment. Where a long wall, window position or specified finish raises questions, discuss the actual construction and finish specification with the builder. These manufacturers’ explanations do not identify the products used in the homes pictured here.
Paint defects to check before handover
Work around each room in a consistent order: walls, ceiling, doors, trims and fittings. Look for:
- Missed areas, thin coverage or patchy touch-ups that remain noticeable.
- Runs, drips, heavy brush marks or debris caught in the finish.
- Blistering, peeling, cracking or damage needing investigation.
- Untidy edges where paint meets another finished surface.
- Paint left on hinges, handles, window hardware, glass or other fittings.
One GoInspect finding called for improvement to the paint finish below a window, as shown in the opening photograph. Another called for paint to be removed from door hinges. These are different repair tasks: a wall-finish concern should not be lost in a general instruction to clean the room.
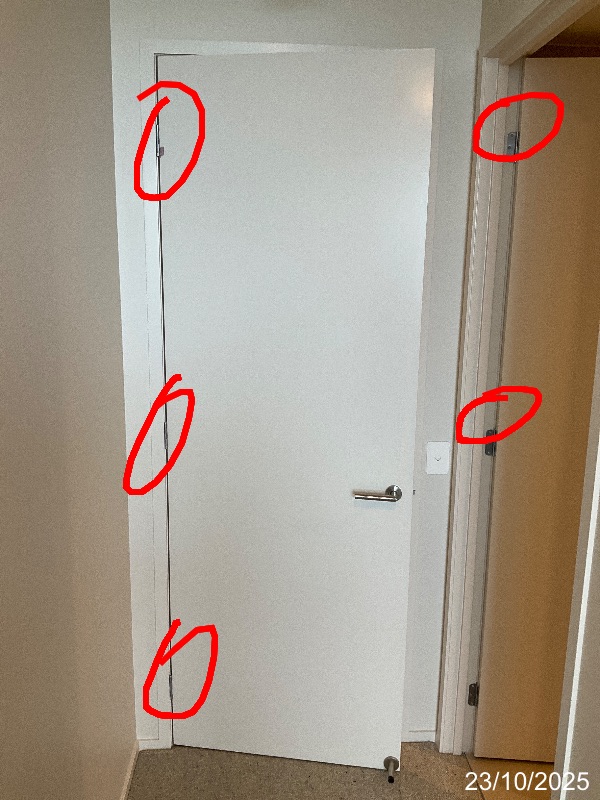
Describe what you can see before naming a cause. For example, record a blistered patch and its location rather than assuming moisture, poor preparation or a particular trade caused it. Ask how the proposed repair will address the condition and achieve a consistent surrounding finish.
Plaster defects at handover: look beyond the paint
A painted wall can still have a plaster-finishing concern. Check accessible walls and ceilings for pitting, rough patches, prominent joint lines, fixing marks, damaged corners and unfinished junctions around cupboards or door trims. Record cracks separately, including their location and any accompanying staining, distortion or change over time.
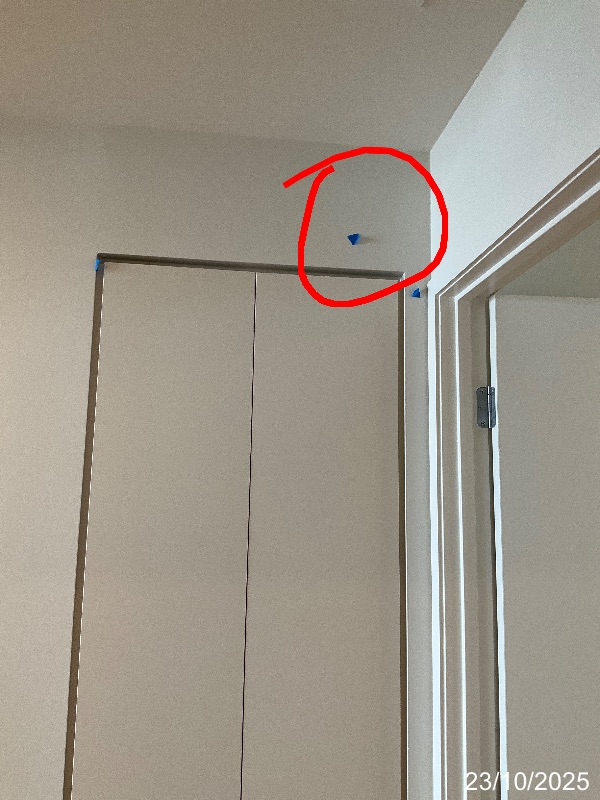
In one inspection, GoInspect recorded pitting in plaster above a cupboard. The location matters: “rough wall” gives the builder much less to work with than “pitting above the entry cupboard”.
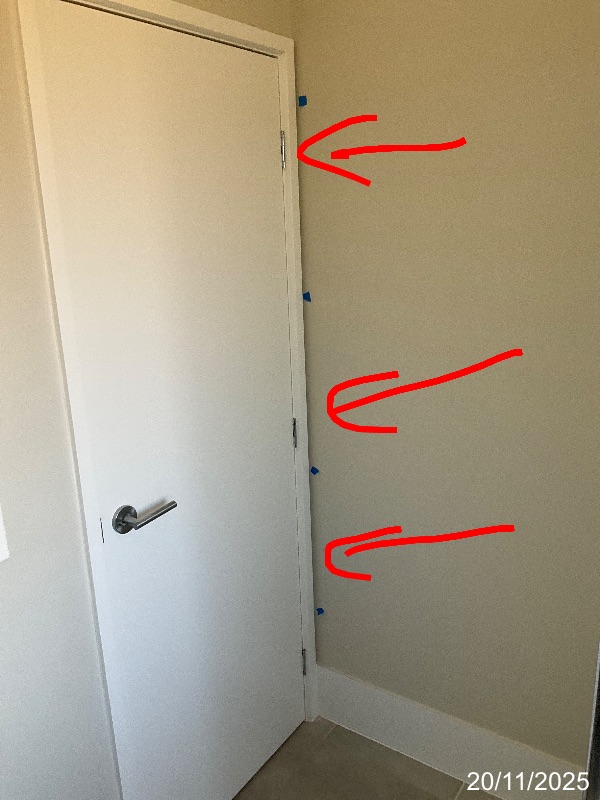
A separate finding concerned the plaster finish beside a bathroom door architrave. Check the junction as well as the broad wall surface, and ask the builder to identify the appropriate finishing detail. Adding filler, repainting or changing a trim detail are not interchangeable answers for every situation.
Do not assume every crack is harmless movement, or that every visible joint proves a structural problem. A finish observation and a diagnosis are separate steps. An inspector can advise when the concern needs further investigation.
Tile defects: chips, grout and uneven edges
Check bathroom, laundry, kitchen and other tiled areas once they are sufficiently clean to see the finish. Useful items to record include:
- Chipped corners, damaged edges or cracked tiles.
- Missing grout, pinholes, open joints or visibly inconsistent grout finish.
- Raised edges, abrupt changes between adjacent tiles or awkward transitions.
- Untidy cuts around fittings and unfinished perimeter details.
- Loose tiles, movement or other symptoms that need investigation.
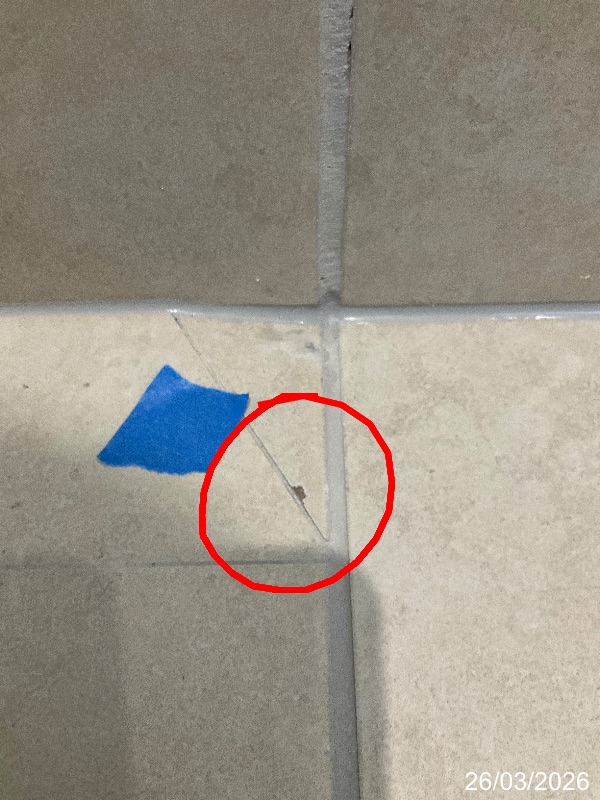
GoInspect recorded a chipped tile below a towel rail. The closer image identifies the damaged corner, making it easier to locate the same item when checking the repair.
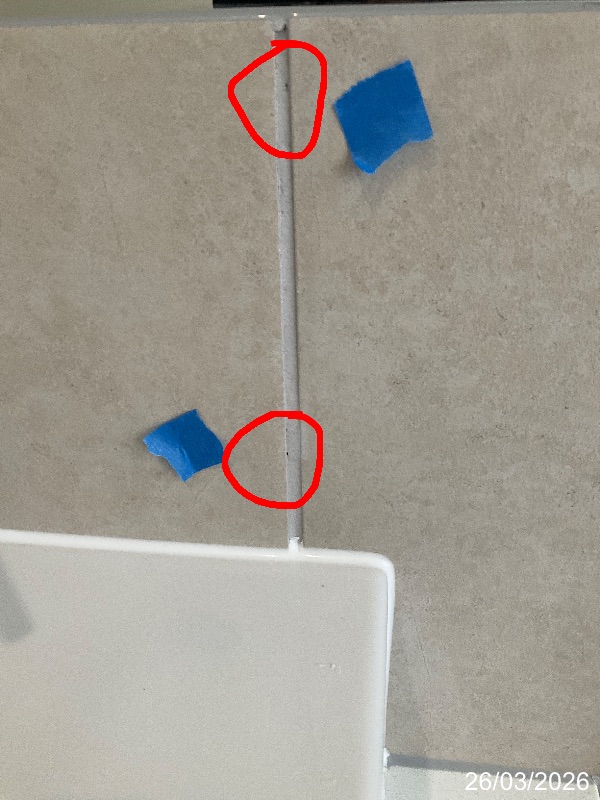
Another finding called for pinholes in the bathroom tile grout to be filled. Check individual joints rather than assuming the whole tiled area is finished because most of it looks complete.
Tile material, layout and installation requirements matter when assessing uneven edges and joints. Avoid applying a single internet tolerance to every tiled surface. Likewise, a hollow sound alone does not establish why a tile sounds different; the Tile Council of North America’s technical explanation describes several possible reasons. It is background information, not an Australian acceptance standard.
Finished tiles and grout also do not reveal the full condition of concealed waterproofing. Record visible damage, gaps, leaks or drainage concerns and seek the appropriate investigation; do not treat a neat tiled finish as proof of a compliant membrane.
Turn your checklist into useful follow-up
- Name the location: room, wall or fitting, plus enough detail to find it again.
- Record the condition: use a short description, an overview and a close-up where useful. Keep the original photographs.
- Discuss the response: ask what will be repaired, how the surrounding finish will be treated and when it can be checked.
- Check the result: revisit the same item under suitable conditions and record anything unresolved.
If you want help assessing paint, plaster and tile defects before handover, a GoInspect handover inspection can document visible, accessible concerns and give you a clearer list to discuss with the builder. You can request a quote for your property and confirm the inspection scope. An independent report supports that discussion; it does not replace building certification or specialist investigation of concealed work.