
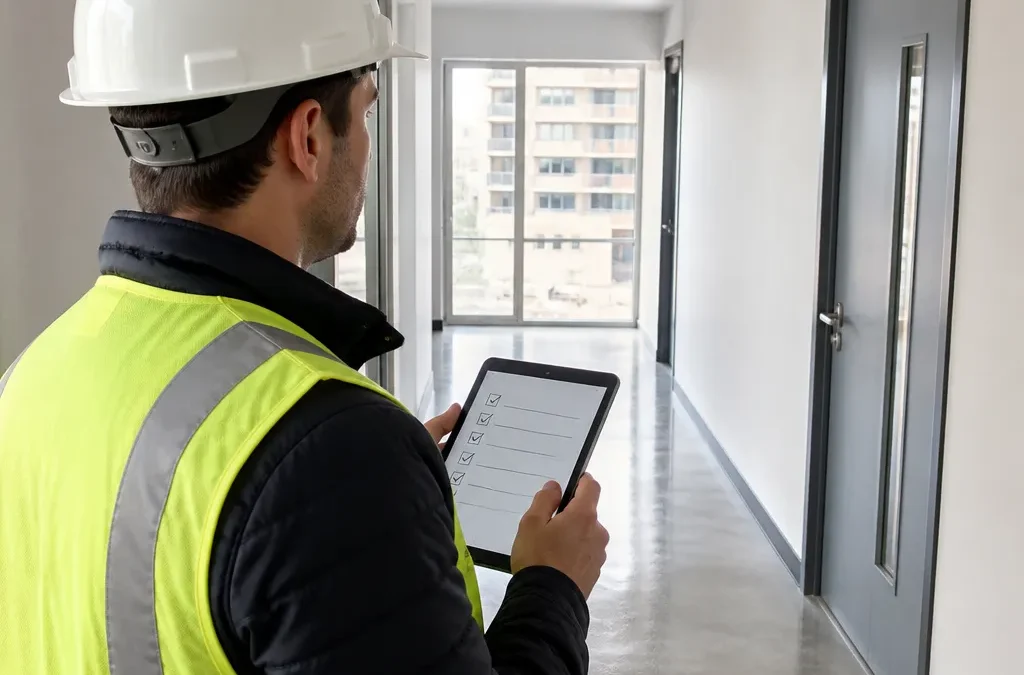
A new apartment can pass a quick walkthrough and still hide dozens of defects that only show up after you have moved in. In a multi-residential building, the inspection is more than checking one flat. Each unit is its own handover, and the same wall, door or bathroom can fail in a different way from one level to the next. This guide walks through what a building inspector actually checks in an apartment building, unit by unit, and why your apartment building inspection checklist should follow the same logic.
Table of Contents
- Quick Takeaways
- Common Areas Before Any Unit
- The Unit Walkthrough, Room by Room
- Balconies, Windows and External Finishes
- Plumbing, Hot Water and Wet Areas
- Electrical, Ventilation and Smoke Alarms
- Comparing Inspection Approaches
- Assigning Defects to the Right Trade
- Frequently Asked Questions
- References
Quick Takeaways
| Key Insight | Explanation |
|---|---|
| Inspect common areas before the units | Fire doors, stair nosings, car park drainage and lobby finishes affect every owner in the building, and they are easy to miss once attention shifts to your own unit. |
| Run every tap for several minutes | Hot water, pressure and drainage faults often appear only under sustained use, so a single flush or quick tap check will not expose them. |
| Check the balcony fall with a level | Standing water on a balcony usually means the floor falls toward the wrong edge or the drain is blocked. Photograph the pooling with a level or ruler in frame. |
| Test every door, window and slider | Doors that do not latch, sliders that stick and gaps around frames are cheap to fix at handover and expensive to ignore after settlement. |
| Attach a trade to every defect | A defect without a responsible trade sits on a list. Naming the plumber, tiler, electrician or carpenter speeds up rectification. |
| Photograph the fix, not just the fault | A dated before and after photo set confirms the defect is closed and gives you a clean record if the same problem returns. |
Common Areas Before Any Unit
Most owners walk straight into their own apartment and leave the lobby, stairwell and car park for later. A good apartment building inspection starts at ground level, because those areas carry defects that affect every resident. A cracked fire door frame in a stairwell is not a unit defect, but you will live with it every day and it will be your problem to chase.
Inspectors check fire-rated doors for self-closing action and latch engagement. They look at stair treads, handrails and balustrades for fixing, lighting on landings and whether lift lobby finishes are scratched or patched. Car park line marking, drainage grates, roller doors and bin rooms belong on the same list.
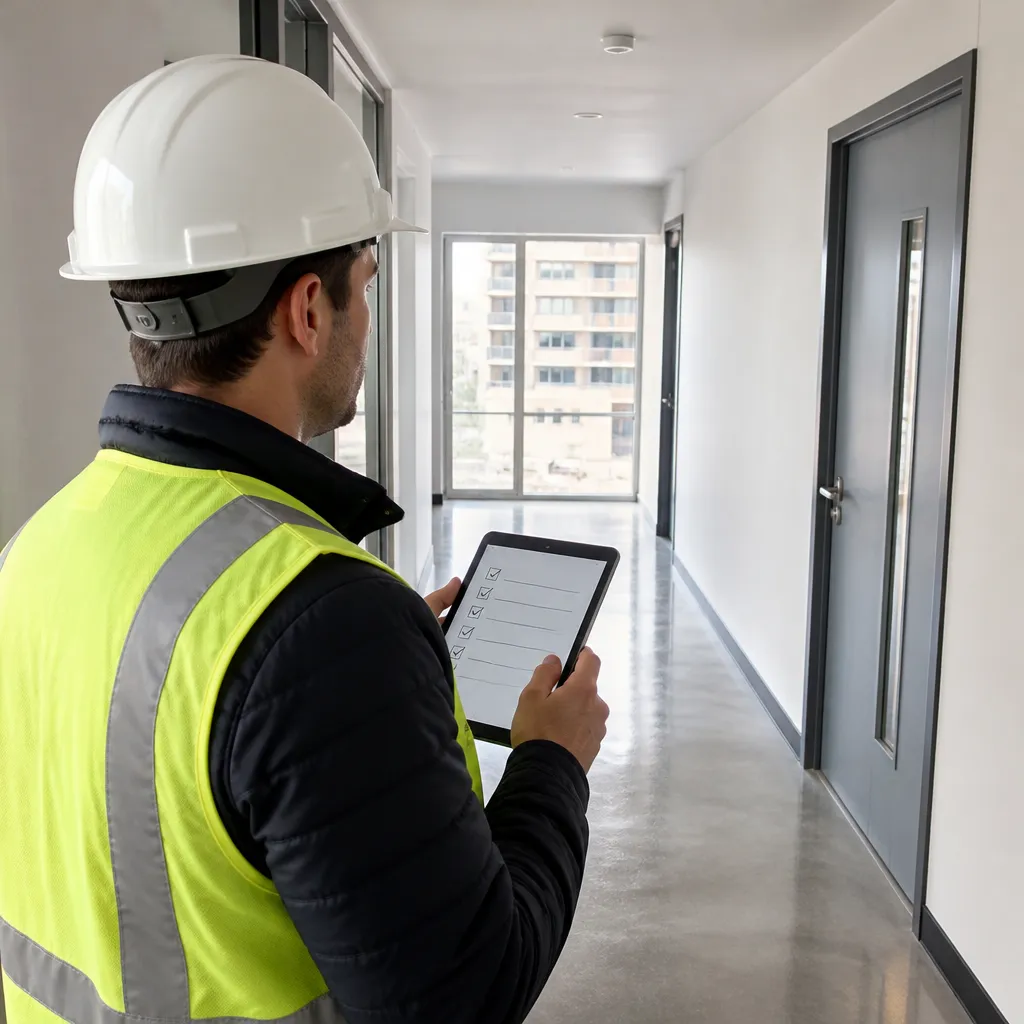
Fire Doors and Stairwells
Fire doors that do not close fully or leave a visible gap at the latch side are recorded with photos showing the gap and the closer. Stair nosings that are loose or uneven are a trip hazard and get flagged as a safety item, not a cosmetic one. Handrails are pushed by hand and checked for movement at each bracket.
Car Park, Lobby and Waste Areas
Car park drainage is checked after a hose test where the building allows it, because standing water near a bay often means a grate is misaligned or the fall is wrong. Lobby finishes, letterboxes and intercom panels are tested for function. Bin rooms need ventilation and a working tap, and the inspector notes both.
The Unit Walkthrough, Room by Room
Inside the apartment, the inspector works from the entry door inward so nothing gets missed on the way back out. Each room gets the same attention, because a poor install at the entry door and a poor install at a bedroom window often trace back to the same site practices. A consistent order also makes your photo log easy to read later.
A defect that is photographed, located and assigned to a trade is far easier to close out than one recorded as a verbal note on handover day.
Entry Door and Hallway
The entry door is checked first for latching, seals and lock function. Inspectors look for gaps at the head and sill, and they test the deadlock and handle. A door that rubs on the frame or sits proud of the jamb is recorded with a photo and a measurement where possible.
Walls, Ceilings and Floors
Plasterboard joins, paint runs, nail pops and uneven tiling are common at handover. Inspectors use a torch held at a low angle to show dents and waves in walls. Floor tiles that sound hollow when tapped, or timber floors with visible gaps, need a closer look, and both are logged.
Kitchen and Laundry
Cabinet doors should align and close without binding, and benchtop joins should be sealed. Appliances are run to confirm they work, and the range hood is checked for airflow. Laundry trays and taps get the same treatment as the kitchen sink.
Bedrooms and Storage
Wardrobes are opened, shelves are tested for stability, and sliding door tracks are run through several full cycles. Window locks are tested, and window seals are checked for daylight and water staining. A sliding track that binds on the first pass is usually a sign the install was rushed.
Pro tip: Bring a torch, a tape measure and a small spirit level. Measuring a gap or a fall in millimetres turns “the door looks off” into a defect the builder cannot argue with.
Balconies, Windows and External Finishes
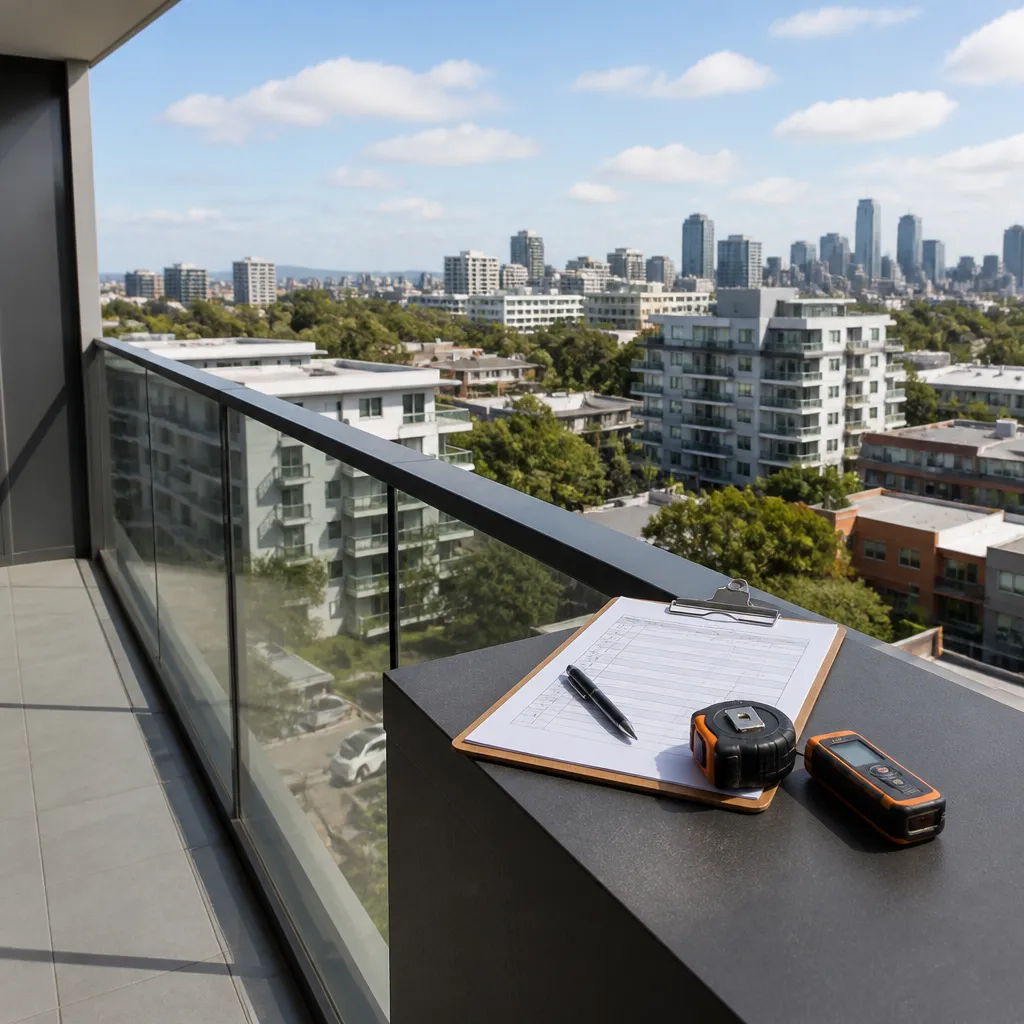
Balconies are where many apartment defects hide in plain sight. They are exposed to the full weather load and sit at the junction between internal finishes and the building envelope. The inspector checks drainage, falls, balustrade fixings and the finish where the balcony meets the internal floor.
Balcony Falls and Drainage
Standing water after a hose test is a clear defect. Check whether the floor falls toward the drain or toward the wrong edge, and whether the outlet is blocked or the tiles are lifting. Photograph the water with a level or ruler in frame so the fall is visible in the report.
Balustrades, Glass and Fixings
Balustrade fixings, glass panels and handrail brackets are tested by hand. Loose posts and uneven gaps in the balustrade are logged as safety items and flagged early. Any defect here should be treated as urgent, not cosmetic.
Window Frames and Sealants
Window frames are checked for alignment, sealant gaps and weep holes. Sliding windows are tested for smooth operation and proper locking. Water staining on the internal sill or around the frame is traced back to the external sealant where the access allows.
Plumbing, Hot Water and Wet Areas
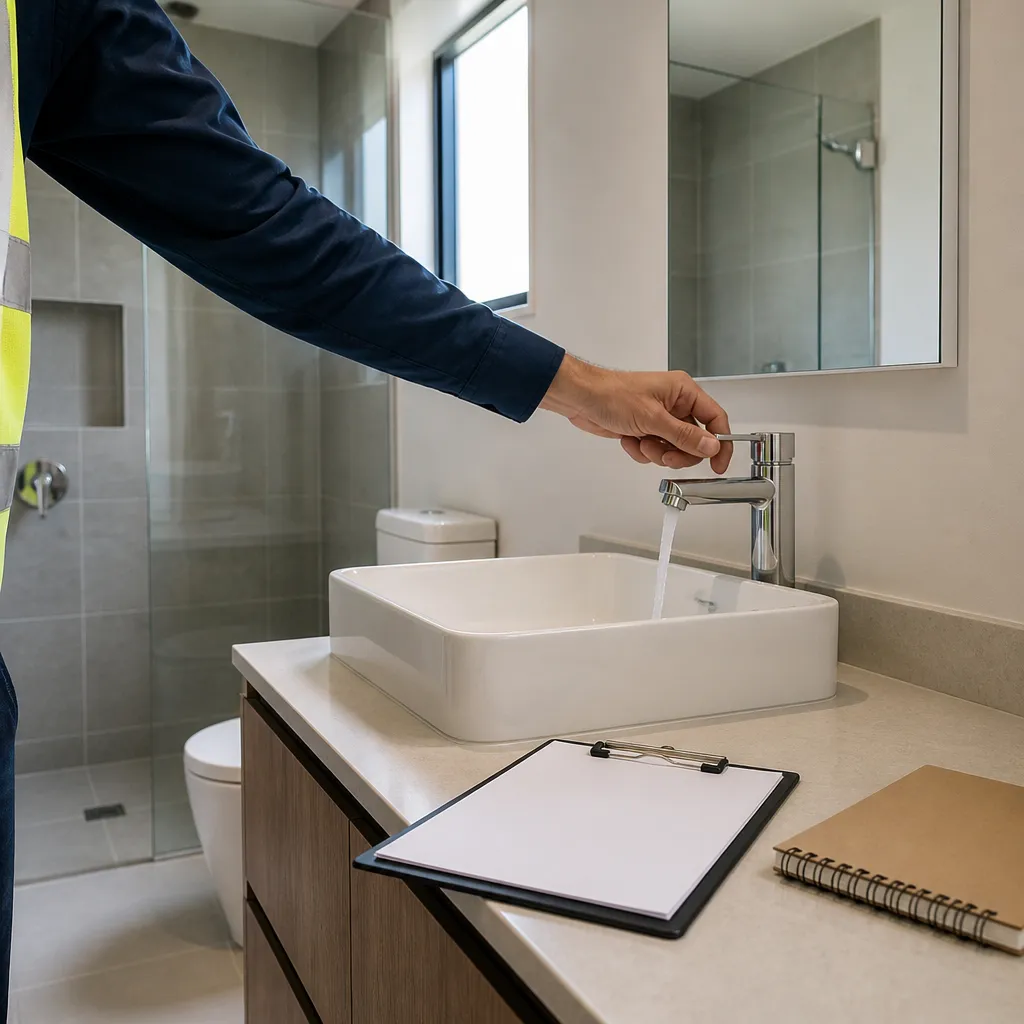
Plumbing faults are the defects owners are most likely to find after moving in, because they often show only under sustained use. A proper inspection runs every tap, shower and toilet for long enough to see how the water behaves. Wet areas get the most attention, since water damage spreads quietly behind finishes.
Hot Water and Water Pressure
Run the hot tap until the temperature stabilises, then check pressure at the shower and kitchen tap. Low or fluctuating pressure can point to a valve or pipe issue. The inspector notes whether hot water reaches each fixture quickly and at a steady temperature.
Shower Waterproofing and Tiling
Shower recesses are checked for hollow tiles, cracked grout, gaps at the floor waste and screen seals. Water should not pool at the threshold or track under the tiles. The waterproofing membrane is hidden, so the inspector looks for symptoms of failure: soft grout, dampness on the adjacent wall and staining in the room below.
Under-Sink Leaks and Drainage
Open the vanity and kitchen cupboards and check every trap, joint and valve for moisture. Run the basin and sink, then check the cupboard floor for slow drainage. A small drip under a cabinet in week one is far cheaper to fix at handover than after the cabinet base has swollen.
Electrical, Ventilation and Smoke Alarms
Electrical and ventilation defects are less visible, so inspectors rely on testing rather than looking. Every power point, switch and light is operated, and the switchboard is checked for clear labelling. The aim is to confirm the unit works as intended, not just that the fittings are present.
Power Points, Switches and Lights
Test each power point with a plug-in tester or a known device, and operate every light switch and dimmer. Loose faceplates, scorched plugs and lights that flicker are logged. Check that the switchboard labels match the rooms, since mislabelled circuits waste hours during future repairs.
Exhaust Fans and Ventilation
Bathroom and kitchen exhaust fans are switched on and checked for airflow at the grille. A fan that is fitted but not venting properly, or that is noisy and weak, is a defect. Condensation on a bathroom ceiling after a shower often points to ventilation that is not performing as designed.
Smoke Alarms and Detectors
Smoke alarms are tested with the test button and checked for correct placement in hallways and bedrooms. Owners should also ask the developer or builder for installation and compliance paperwork. A missing or disconnected alarm is recorded as a safety issue, not a cosmetic one.
Comparing Inspection Approaches
Owners usually choose between three routes: walking the unit themselves, relying on a developer or building manager walkthrough, or engaging an independent inspector. Each has a place, but they catch different things. The table below sets out where each approach works and where it falls short.
| Approach | Where it works | Where it falls short |
|---|---|---|
| Self-guided checklist | Free, flexible and useful for catching obvious finish issues on the day you receive keys | Depends on what you know to look for, and rarely produces photos or trade assignments the builder can act on |
| Developer or building manager walkthrough | Knows the building’s systems, common property and access arrangements | Runs to the developer’s timeline and may not give you a defect record you can take to the builder |
| Independent building inspector with photo report | Systematic unit-by-unit checks, photo evidence, trade-level responsibility and same-day reporting | Carries a fee, and its value depends on booking early enough for defects to be rectified before settlement |
The independent option is most useful in buildings where many units share the same defect pattern. A developer can fix a list faster when each item is specific, located and photographed. A self-guided checklist is a useful companion, but on its own it rarely produces a record strong enough to hold a builder to account.
Assigning Defects to the Right Trade
A defect list is only useful if the builder knows who to send to fix each item. An entry that says “bathroom wall damaged” creates delay, because the plasterer, tiler, painter and plumber will each say it is not theirs. Naming the trade and the location in the same entry is what gets items closed.
Matching Defects to Trades
Plumbers own leaks, drainage and hot water. Tilers own grout, floor falls and lifted tiles. Electricians own faulty fittings and switchboard labelling, and carpenters own door alignment, joinery and sliding tracks. Painters and plasterers own surface finishes unless the damage comes from structural movement.
Evidence That Holds Up in Rectification
Each defect needs a wide photo for context, a close-up for detail and a measurement where it matters. Record the unit number, room and date. Keep the photo set together so each image can be matched to the rectification notice.
Re-inspection and Closing Out Defects
Close each item only after you have seen the repair. Re-inspect the same location, photograph the fix and update the record. Owners who skip this step often find the same defect reappearing after the builder’s crew has left.
Pro tip: Ask for the defect list in a spreadsheet with columns for unit, room, trade, photo reference and status. A list in that format is far easier to chase than a PDF of paragraphs.
Frequently Asked Questions
How long does an apartment building inspection take?
A standard two-bedroom unit usually takes a few hours once you include the walk, testing and photo logging. Larger layouts, penthouses or units with many defects take longer. Common areas are normally inspected separately and can add time to the overall visit.
Should I attend the inspection myself?
Yes, where you can. Being on site lets you ask about a defect while the inspector is standing in front of it, and you can see for yourself how a tap, door or balcony behaves under test.
Who is responsible for fixing defects in common property?
During the defects period, responsibility usually sits with the builder or developer. The exact arrangement depends on your contract and on how the building’s common property is managed, so check those documents before you sign off on any item.
When is the right time to inspect a new apartment?
A pre-settlement inspection is the most useful point to find defects, because the developer still has time to rectify them before you take possession. Booking the inspection early in the handover window gives the builder more time to respond to the list.
What should I do if the builder disputes a defect?
Return to the photo record, the measurements and the location details. A defect with a clear photo, a unit number and a named trade is much harder to dismiss than a verbal complaint. If the dispute continues, keep the correspondence in writing.
Is a DIY checklist enough without a professional inspector?
A checklist catches many obvious issues, but it cannot show what sits behind finishes, such as waterproofing or drainage under a tile floor. A professional inspection with photo-enhanced reporting adds the evidence and trade assignment that a DIY list usually lacks. At GoInspect, unit inspections start from $550 including GST.
Tell us in the comments which defect surprised you most at your own apartment handover, whether you are an owner, an investor or a builder.