
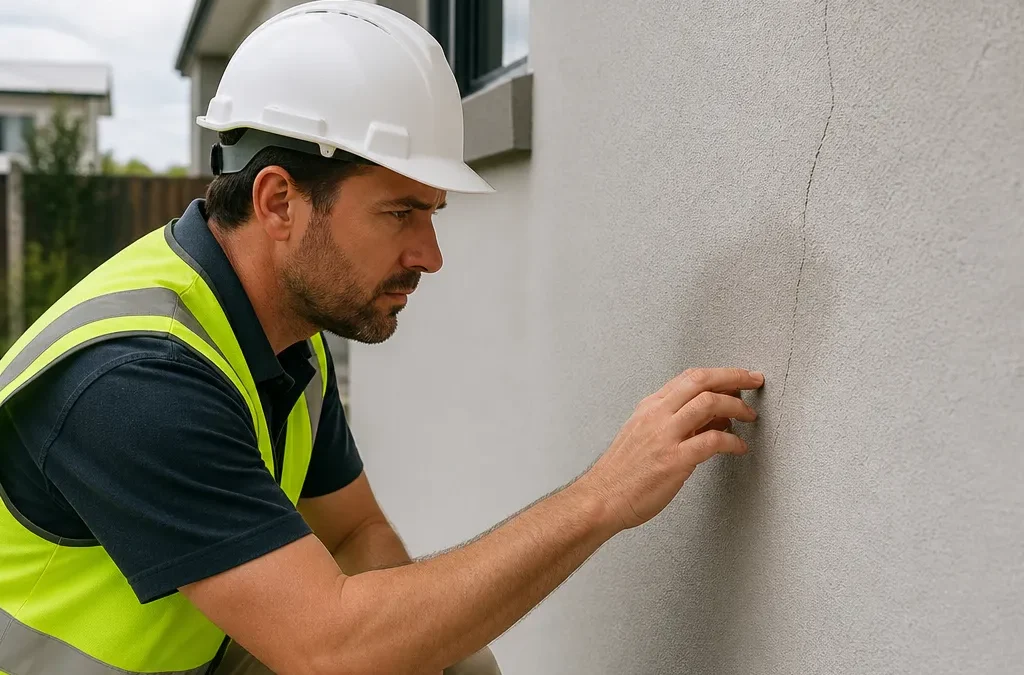
Most buyers walk through a new home looking at kitchens, tile colours and the view from the balcony. The external walls get a glance, if that. Yet render defects in new homes are often visible at handover to anyone who knows where to look. Cracked render, hollow patches, failed sealant and spalling concrete can all be found before settlement, while the builder still has crews on site and repairs are far cheaper than they become later. This guide covers what a handover inspection uncovers on external walls and cladding across Brisbane, the Gold Coast, Logan, Ipswich and Redland Bay, and how to turn those findings into a defect list a builder cannot ignore.
Table of Contents
- Quick Takeaways
- What Render Defects Look Like at Handover
- Cladding Defects Beyond Render
- Why Render Fails: Substrate, Moisture and Movement
- Spalling and Concrete Surface Damage
- External Wall Inspection Approaches
- Who Fixes External Defects
- PCI Inspection Brisbane: Timing Your External Wall Check
- Frequently Asked Questions
- References
Quick Takeaways
| Key Insight | Explanation |
|---|---|
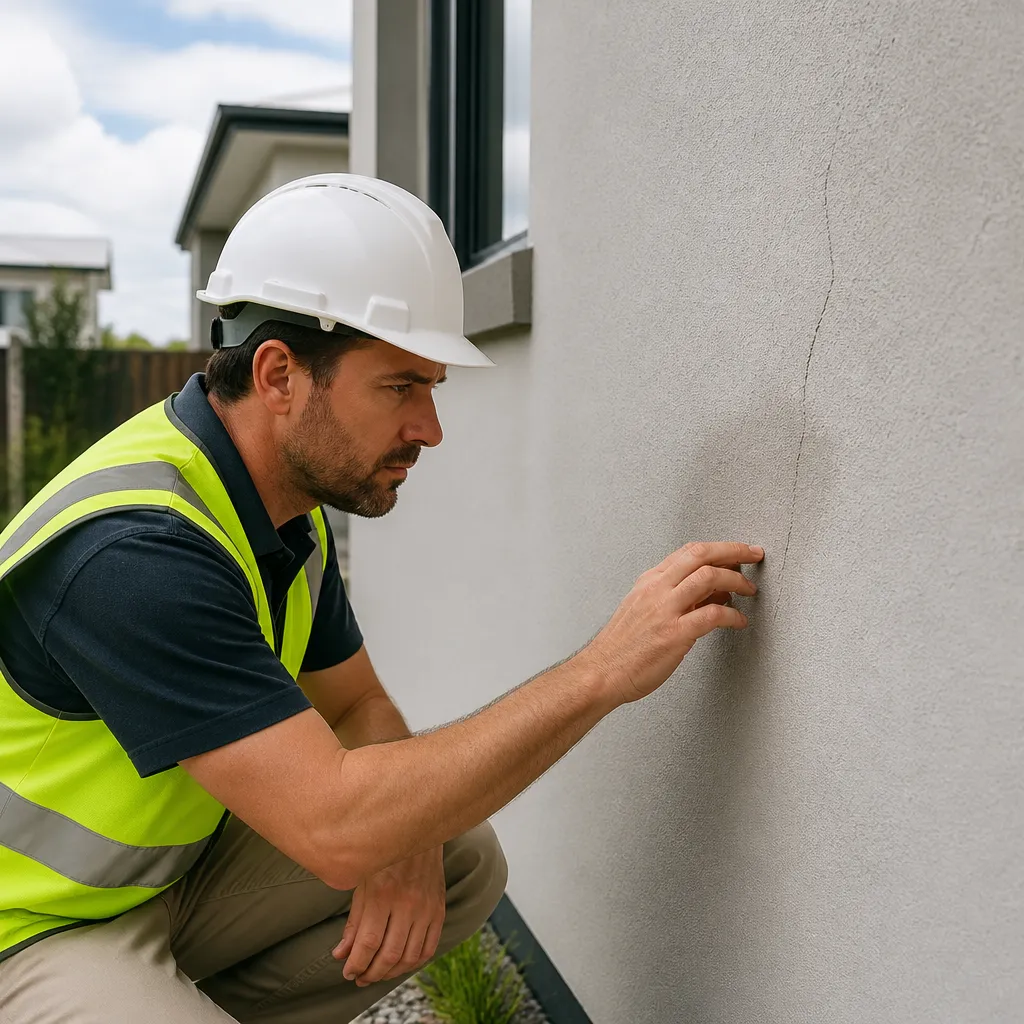
| Check the pattern of a crack, not just its presence | Diagonal cracks running from window and door corners suggest stress with no relief. Photograph and date each one, and record whether it is still open or has been patched. |
| Tap every elevation | Hollow-sounding render has separated from the substrate in that area. Mark and measure each zone, then ask the builder for a written repair plan. |
| Treat junctions as the priority | Window heads, balcony edges and material changes are where water gets in. A gap at a junction usually matters more than a crack in the middle of a flat wall. |
| Log missing movement joints against the render trade | Joints that were skipped or spaced too far apart cause cracks the builder never intended. The defect should name the render subcontractor so it gets fixed properly. |
| Separate spalling from surface scaling | Flaking concrete on ledges, sills and slab edges needs measuring and sounding. Exposed reinforcement or rust staining moves it from cosmetic to urgent. |
| Inspect after external works finish | Scaffold removal is a good trigger for the external walk. Inspecting before the render and cladding crews leave means defects can often be fixed in one visit rather than three. |
What Render Defects Look Like at Handover
Render is the cement-based coating that gives many new homes their finished look, and it is one of the first places problems show up. At handover, the defects we see most often are rarely dramatic. They are hairline cracks, slight colour variation between panels, and small patches where the surface has been touched up before anyone asked. Each one is a clue about what happened underneath.
Hairline Cracks Around Openings
Fine cracks radiating from window and door corners are common, but the pattern matters more than the presence of a crack. A crack running diagonally from the corner of an opening suggests stress concentrating where the render has no relief. We photograph each crack with a scale reference, note its direction and length, and record whether it appears open or has been filled and repainted. A patched crack with no explanation deserves more attention than one that is simply visible.
Colour Variation and Patch Repairs
Uneven colour across a single wall usually points to inconsistent mixing, rushed application, or a repair done with the wrong finish. A patch on its own is not a defect, but an elevation with ten patches tells you the trade has had trouble and may not have fixed the cause. We ask the builder for the reason behind each patch and record the answer, so the final walk can confirm whether anything has changed.
Pro tip: Photograph every elevation in the same light and from the same distance on the day of the handover walk. Comparing those images with the final walk is the fastest way to tell whether a crack is moving.
Cladding Defects Beyond Render
Render gets most of the attention on south-east Queensland builds, but many new homes now combine it with other external materials. Brick veneer, timber-look boards, metal composite panels and sheet cladding often appear on the same facade. Each material has its own tolerances, and the defects tend to cluster where one system meets another rather than in the middle of any single panel.
Junctions Between Materials
The junction is where most water problems start. Where render stops against a window head, where a balcony slab meets a wall, or where a timber-look board finishes under a roofline, the seal is only as good as the flashing and sealant behind it. We check for gaps, sealant that has pulled away from the substrate, and flashing laps that point the wrong way. A small gap at a junction can do more long-term harm than a large crack in the middle of a flat wall.
Vinyl, Timber and Metal Panels
Each material fails in its own way. Vinyl generally holds up well against UV exposure, rot and mould, but its durability is not as high as stone or metal, so impact marks and fixing points deserve a close look. Timber-look boards need properly sealed end grain and adequate clearance from the ground. Metal panels often show problems at cut edges and fixings, where the coating has been scratched during installation and left unprotected. The handover test is simple: check the finish and fixings against the product documentation, not against how the wall looks from the footpath.
Why Render Fails: Substrate, Moisture and Movement
Render relies on a sound bond to the surface beneath it, and most of the serious defects we record trace back to that bond or to water getting behind the finish. Understanding the three main causes helps you ask the right questions at handover instead of accepting a cosmetic repair. Substrate, moisture and movement are the three areas where we spend the most time on every external wall.
Substrate Preparation and Bonding
Render needs a clean, sound and properly prepared surface to bond to. When the substrate has dust, release agents, or loose material left on it, the render may look fine for months and then separate. A tap test is the quickest screening method. Sound render gives a solid, consistent response, while hollow render sounds dull or drummy. We mark each hollow zone in chalk and measure its extent. A tap test is a screening tool, not a diagnosis, so the builder needs to explain the cause and show how the repair will be done.
Moisture Getting Behind the Finish
Water usually enters at penetrations, at the base of walls where splash-back occurs, and at parapets or ledges where water can sit. We look for staining around pipe and service penetrations, discolouration at ground level, and any sign of efflorescence on the surface. A moisture meter gives a useful trend across a wall, but it does not give an exact answer, and readings on render should be interpreted alongside what you can see. Water staining at the base of a wall is often the first sign of a problem higher up the same wall.
Movement Joints the Builder Skipped
Control joints give render a planned place to move. When they are missing, spaced too far apart, or placed away from changes in the structure, the render cracks in the spot the builder did not intend. We compare the joint layout with the render specification and the product details, then flag any gaps. This is one of the most fixable defects at handover, provided it is logged against the render trade early enough for the subcontractor to return.
Spalling and Concrete Surface Damage
Spalling is the flaking, chipping or crumbling of concrete. It is most often associated with driveways, patios and slabs, but it can also appear on external concrete elements around a new home. Not every flake is a structural problem, and it helps to separate the cosmetic from the serious before you write the defect. Concrete elements on the outside of a house are exposed to rain, sun and temperature change from day one, so the early signs are worth recording at handover.
In practice, the wording on your report should describe what you saw and measured, not guess at the cause. A wall that has been patched and repainted, or a ledge with rust stains at the edge, needs a different response from a sill with light surface scaling. We note the location, the approximate area affected, and whether the surface sounds solid when tapped.
Spalling Versus Surface Scaling
Surface scaling is shallow and often looks like a thin layer that has lifted from the face of the concrete. Spalling goes deeper and leaves a crater or an edge that has broken away. The distinction matters because deeper damage can expose reinforcement, and once steel is exposed to water it begins to rust and expand, which accelerates the damage. If you see rust staining running from the concrete surface, treat it as a priority item rather than a cosmetic one.
Pro tip: Ask the builder to confirm the concrete cover to any exposed reinforcement that has been spalled. Reinforcement close to the surface is a common cause of early damage, and the answer tells you whether the repair is a patch or a bigger job.
Concrete Ledges, Sills and Balcony Edges
Ledges, window sills and balcony edges are the places concrete is most exposed. Water runs off them, collects at the edges, and soaks into any small crack or arris that has been chipped during construction. We check the underside and the drip edge, because the top surface often looks fine while the underside is already breaking down. A chipped drip edge is a defect in its own right, and it is easy to miss from the ground.
External Wall Inspection Approaches
There is no single method that catches every external defect, and the approach you choose affects what you find. A ground-level walk is quick and cheap, but it cannot see the upper junctions or the fixings at height. The table below compares three common approaches and shows where each one falls short.
Why a Single Walk Misses Defects
Many handover inspections are carried out from the driveway and the front yard. That approach finds obvious cracks, missing sections and misaligned trims, but it misses most of the faults at junctions and on upper levels. The defects that matter most for water entry are often hidden from ground level, so a single walk should be treated as a starting point rather than the full assessment.
Lighting, Access and Timing
Light changes what you can see. Early morning or late afternoon sun across a wall makes surface cracks and colour variation easier to spot than midday glare. Access also matters, and where a safe view of the upper storeys is not possible from the ground, the inspection needs to be scheduled with the builder so that the right equipment is available. Inspecting at the right time of day and with proper access is often the difference between a useful report and a list of guesses.
| Approach | What It Catches | Limitations |
|---|---|---|
| Visual walk-through from ground level | Obvious cracks, missing sections, misaligned trims and visible staining at the base of walls | Misses high-level junctions, hollow render and fixing faults on upper storeys |
| Visual walk plus tap testing and moisture readings | Hollow render, moisture trends across a wall and surface defects within reach | Moisture readings are indicative only, and upper levels still need access |
| Elevated access inspection with photos at each level | Junction faults, sealant failures, fixing problems and spalling on upper ledges and balconies | Needs safe access equipment and scheduling with the builder, which adds time to the appointment |
Who Fixes External Defects
Finding a defect is only half the job. The other half is making sure the right party fixes it, to the right standard, before you settle. External defects are often spread across several trades, and a vague report can send the builder in circles while the defect stays open. A clear report that names the trade and describes the fault in plain terms is far more likely to get results.
Assigning Each Defect to a Trade
Render cracks and hollow patches usually belong to the render subcontractor. Sealant and flashing faults at window heads may belong to the window installer or the cladding trade. Concrete damage on ledges and slabs often sits with the concreter. We assign each item to the most likely trade in the report and explain the reason in one sentence, so the builder can direct the right person without a long debate. Check your contract for the builder’s obligations, since the way defects are handled can depend on the terms you signed.
Writing Defects a Builder Cannot Dispute
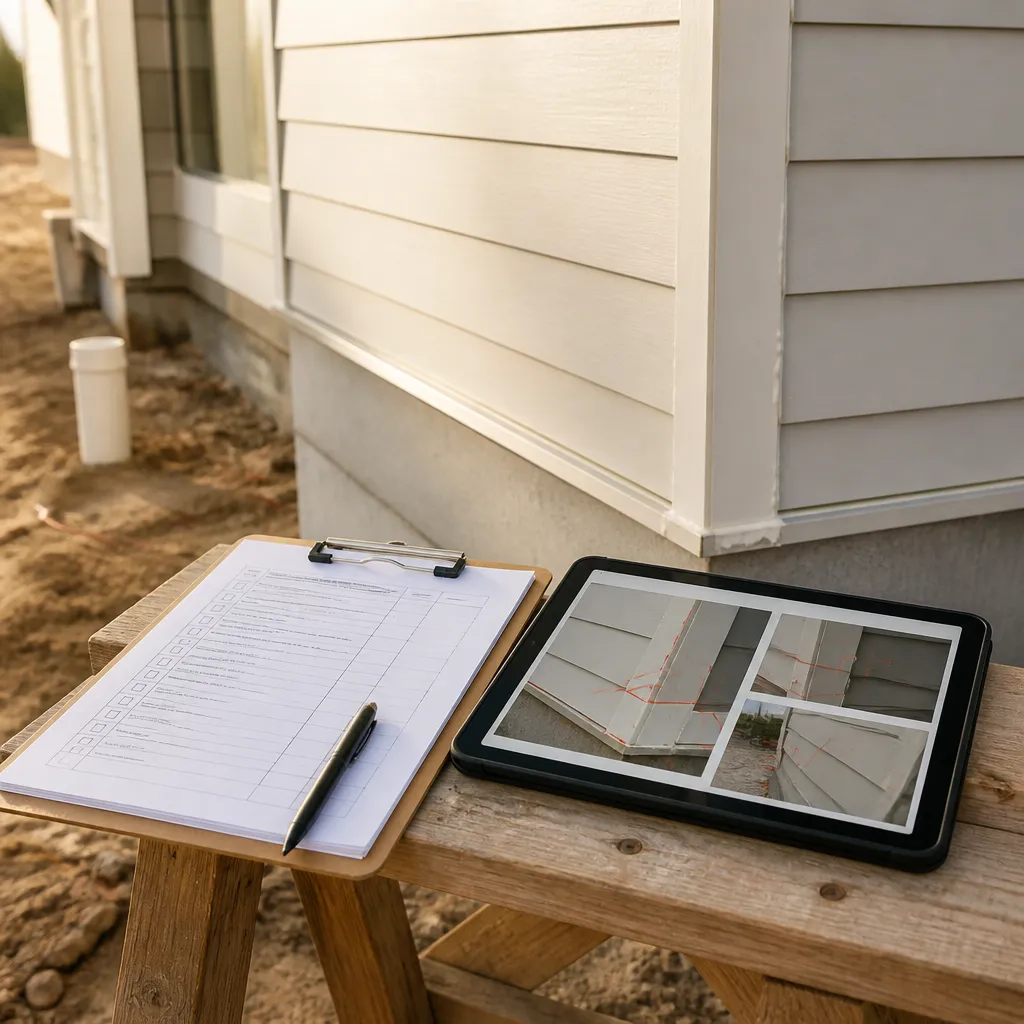
A useful defect entry has four parts: the location on the building, the trade responsible, a photo with a clear reference point, and a plain description of what is wrong. Vague items like “render issue, left side” are easy to close without fixing. Specific items like “hollow render, approximately one square metre, above the north-facing window head on the first floor, render trade” are much harder to dismiss. Key insight, unattributed: a defect report is only useful if the builder can act on it without a phone call.
PCI Inspection Brisbane: Timing Your External Wall Check
A PCI inspection in Brisbane is often booked as a single appointment, but the external walls are usually not finished at that point. Render may still be curing, sealants may not be applied, and cladding trades may still be on site. Timing the external walk well is one of the simplest ways to avoid paying for a second visit and waiting weeks for the repairs to be done.
Before Practical Completion or Before Settlement
Some buyers want the external walk before practical completion so the builder can fix defects before the final sign-off. Others want it before settlement, once the builder has finished, to confirm the work is complete. Both can work, but the external walk should happen after scaffolding is removed and the last external trade has left. Inspecting the walls while scaffolding is still up means you may miss the upper junctions, and inspecting too early means some defects will not yet be visible.
Same-Day Reporting and the Re-Inspection
Same-day reporting matters because the builder needs the list while the crews are still on site and the defects are easy to access. A photo-based report sent the same day gives the builder a clear list to act on. Once repairs are complete, a re-inspection checks each item on the list and confirms it has been closed. Plan for that re-inspection in your timeline, because a repair done without a follow-up check is only an assumption that it worked.
Frequently Asked Questions
What are the most common render defects in a new home?
The most common render defects are hairline cracks around openings, colour variation between panels, hollow areas where render has separated from the substrate, and missing or badly placed movement joints. Most are visible at handover if the walls are inspected in good light and tapped in each elevation.
Are hairline cracks in new render normal?
Some fine cracking can occur as a new surface settles, but the pattern and location matter more than the crack itself. Diagonal cracks from window and door corners, or cracks that reappear after being patched, should be recorded and raised with the builder rather than accepted as normal.
How can you tell if render is hollow without removing it?
A tap test is the usual method. Sound render gives a solid response, while hollow render sounds dull or drummy. Mark each suspect zone and measure it. A tap test identifies areas that need attention, but the builder should confirm the cause and the repair method.
Who is responsible for cladding defects found at handover?
In most cases the builder is the party you deal with, and the builder then directs the subcontractor responsible. Your contract sets out the defect obligations, so check the terms before the handover. A report that names the trade for each defect makes it much easier to get the right person to the right repair.
When should I book a PCI inspection in Brisbane?
Book the external walk after scaffolding is removed and the last external trade has finished. Inspecting too early can miss junction faults and finished surfaces, and inspecting too late can leave you with little time to get repairs done before settlement. A re-inspection after repairs is worth planning for in your timeline.
How much does a handover inspection cost?
GoInspect’s handover inspections start from $550 including GST. Pricing depends on the size and type of the property, so confirm the final quote before you book.
Have you found render or cladding problems on your own handover, and how did your builder respond?
References
- Common new construction defects to watch for during a walkthrough
- Signs of structural defects in new homes and how to recognise them
- Overview of exterior wall cladding materials and their typical uses
- Pros and cons of eight exterior wall cladding materials