
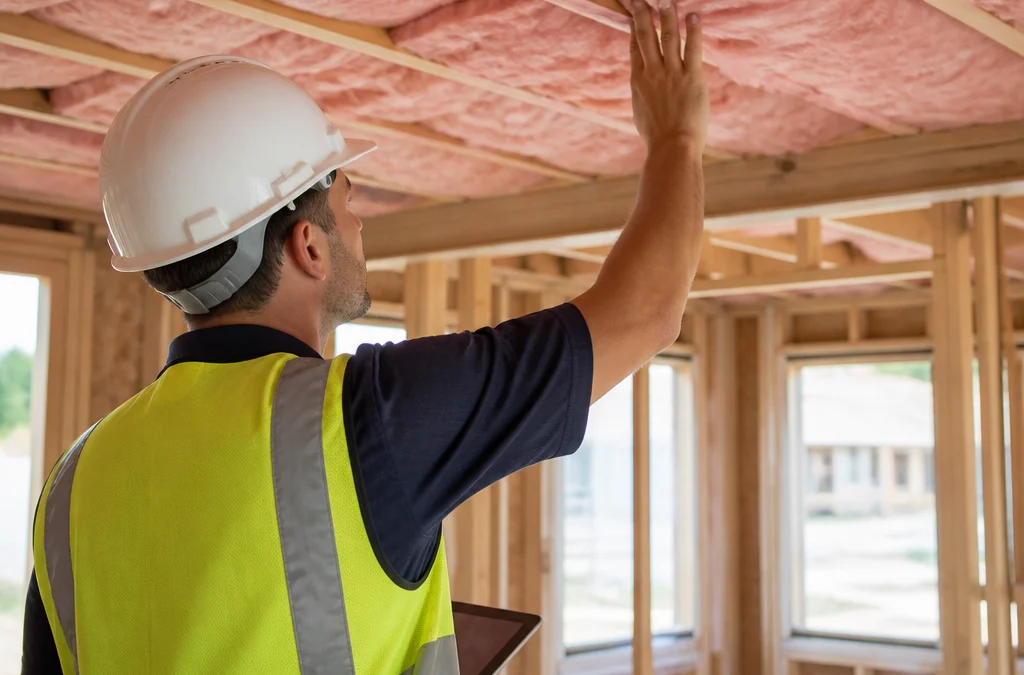
Insulation defects in new home Queensland builds are rarely obvious at handover. Ceiling batts can sit compressed, wall cavities can be left empty around power points, and gaps can open where the air barrier was never closed. Once plasterboard, subfloor sheeting, and roof lining go on, these problems are hidden for the life of the house. This article covers the insulation defects we see most often in new Queensland homes, where they hide, and how to find them before the builder’s crew leaves site.
Table of Contents
- Quick Takeaways
- Why Insulation Defects Slip Past Handover
- Ceiling Insulation Defects in New Builds
- Wall Cavity Insulation Problems
- Underfloor and Subfloor Insulation Gaps
- Air Sealing and Bypasses That Undo Insulation
- Kneewalls, Drop Soffits and Roof Space Defects
- Finding Insulation Defects During a Pre-Handover Inspection
- Assigning Responsibility for Insulation Repairs
- Comparing Ways to Check Insulation
- Frequently Asked Questions
- References
Quick Takeaways
| Key Insight | Explanation |
|---|---|
| Insulation is hidden at handover | Walls, ceilings, and subfloors are closed in by linings and sheeting, so the real inspection window is before plasterboard goes up. |
| Compressed batts lose performance | Batts squashed by lighting, ducting, or foot traffic deliver far less than their rated value. Check batt depth against the approved plans in the roof space. |
| Downlights need clearance | Insulation packed against non-rated downlights can make them overheat. Read the product label and confirm the clearance on site. |
| Perimeter gaps are the common failure | Gaps at eaves, floor edges, and around ducts are where most thermal performance is lost. Photograph each edge before it is closed. |
| Insulation and air sealing work together | Insulation with open bypasses behind it performs poorly. Look at top plates, penetrations, and exhaust fan openings as well as the batts themselves. |
| Get the installed spec in writing | Compare the installed product, thickness, and coverage to the approved plans and energy documentation before you sign off. |
Why Insulation Defects Slip Past Handover
Most handover walk-throughs focus on finishes, doors, tiling, and fixtures. Insulation is almost never on the checklist because it is not visible once the house is lined and painted. That gap in attention is why so many insulation problems reach the owner without being noticed.
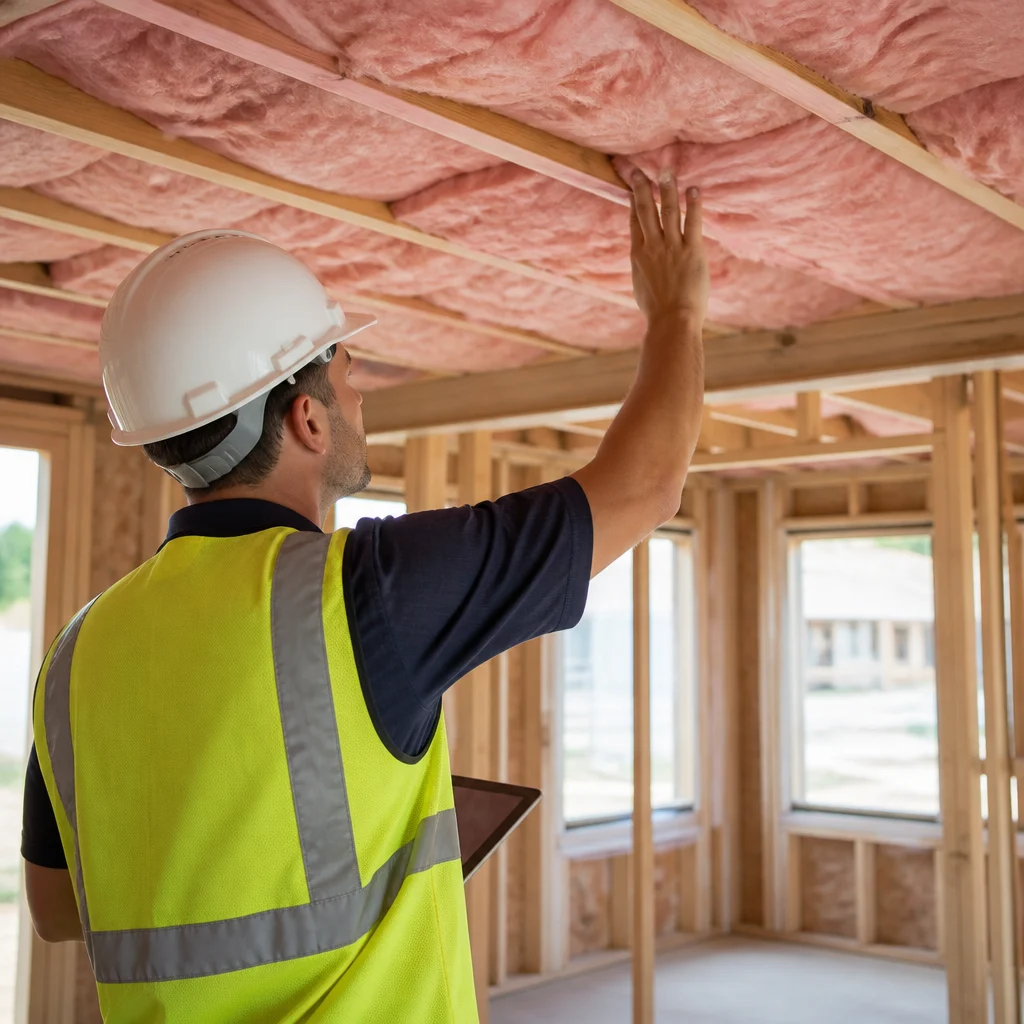
The timing problem is the real issue. By the time a builder hands over keys, the window to fix most insulation defects has already closed. Rectifying a gap usually means cutting into plasterboard, which costs the builder more time and gives the owner a longer wait.
What the Handover Walk-Through Usually Covers
A standard handover inspection checks that the house looks finished and functions. It rarely includes the roof space, the subfloor, or the wall cavities, and most owners do not have access to those spaces on their own. Without a specific insulation check, the walk-through tells you very little about thermal performance.
Why Timing Matters More Than Thoroughness
A thorough inspection at the wrong stage finds nothing useful. An inspection carried out after plasterboard is fixed can only confirm what is already buried. The most valuable check happens while the framing is still open and the insulation is accessible.
Pro tip: Ask the builder for a site inspection date that falls before the lining contractor starts. Most builders will accommodate this if you request it during contract stage, and it costs far less than cutting out a finished wall later.
Ceiling Insulation Defects in New Builds
Ceiling insulation is the most common place we find defects in new Queensland homes. The roof space is often the most crowded part of the house, with ductwork, electrical cabling, lighting, and trusses all competing for the same space. Insulation that looks adequate from the access hatch can still be badly placed.
Compressed and Displaced Batts
Batts get compressed when they are walked on, pushed aside for cabling, or squashed under ducting. A batt that has been flattened to half its thickness does not deliver its rated value, even if the product is correct. We measure batt depth against the approved plans wherever we can, because a visual check from the hatch often misses the problem.
Displaced batts are harder to spot. They sometimes slide down the roof pitch and leave the ceiling edge exposed. A torch and a few photographs at the ceiling perimeter will reveal this quickly.
Gaps at Eaves and Ceiling Edges
The edges of the ceiling are where insulation is most often incomplete. Where the ceiling meets the wall plate, batts are frequently cut short or left out entirely. These gaps create a direct path for heat to move between the roof space and the living areas below.
In practice, a ceiling that looks fully covered in the centre can have a noticeable strip of missing insulation along one or more eaves. Walk the full perimeter, not just the middle of the roof space.
Wall Cavity Insulation Problems
Wall insulation is the hardest part of a new build to check after handover, because every defect sits behind a finished surface. That is exactly why it needs to be inspected while the frame is open. Once plasterboard is fixed, you are relying on the builder’s records and trust.
Empty Cavities Around Services
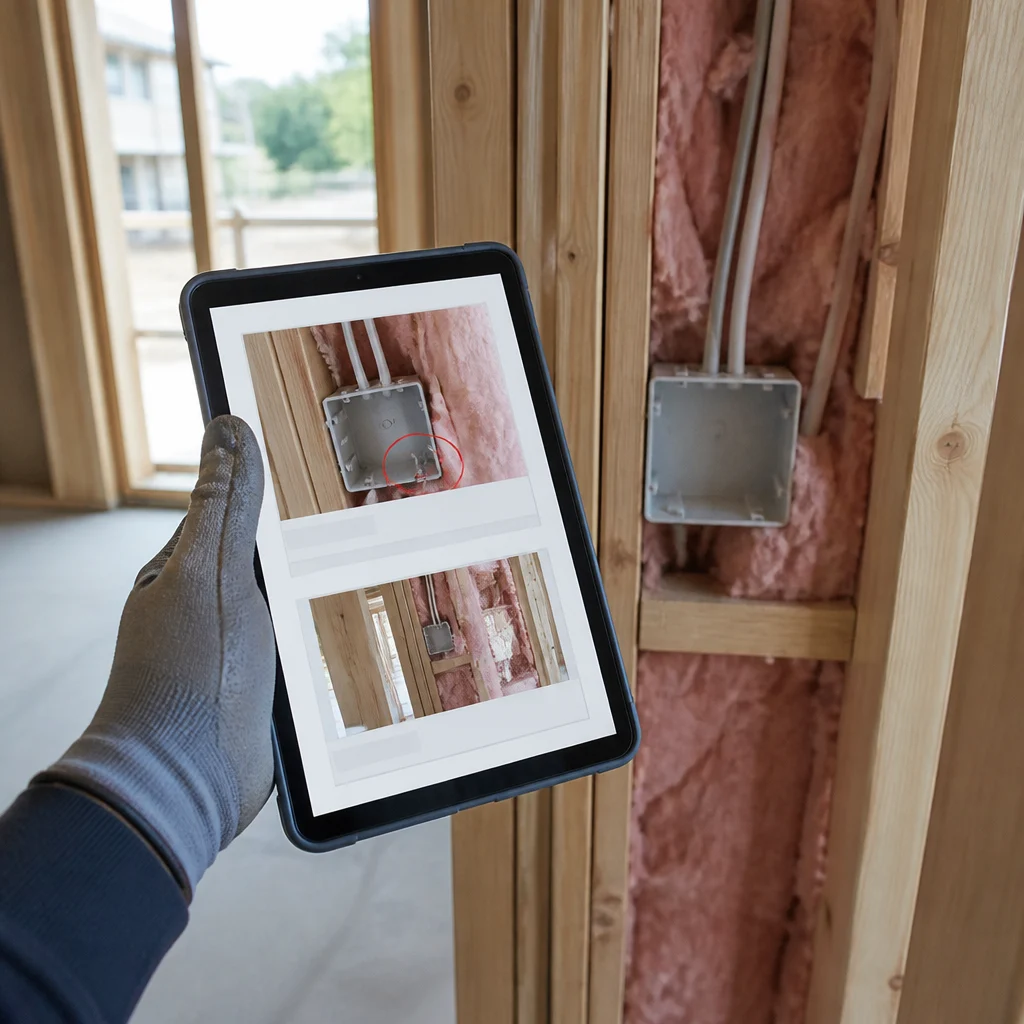
Wall cavities are often left unfilled around power points, data outlets, and plumbing runs. The electrician or plumber cuts through the batt to run their service, then the batt is not replaced or refitted. The result is a cavity that looks insulated from the outside but has a gap exactly where the room’s services are.
Check every external wall before linings go up. Look for offcuts, missing sections around outlets, and cavities where the batt has clearly fallen out of its position.
Batts Cut Around Power Points and Pipes
Cut batts are a sign of rushed work. When installers trim batts around pipes and cables, they often leave gaps around the cut that are wider than they look. A cavity with a neat batt on one side and a loose offcut on the other has lost much of its effectiveness.
Photograph each cavity section you can see, including the edges around pipes. These photos are the only evidence you will have once the wall is closed, so take more than you think you need.
Underfloor and Subfloor Insulation Gaps
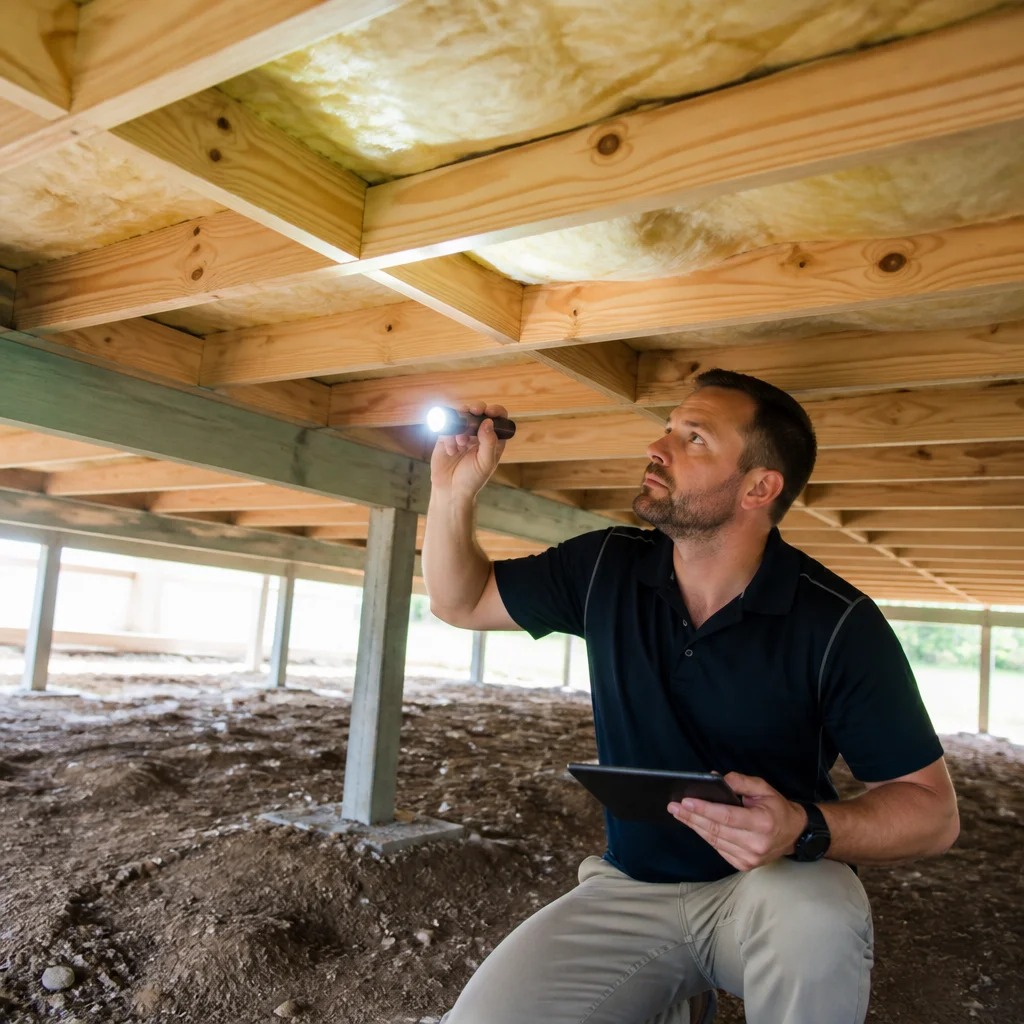
Many new Queensland homes use elevated or suspended floors, and the underfloor space is where insulation is most easily forgotten. Subfloor batts that look complete from ground level may have sagged, dropped, or never been fitted at the perimeter. Because the space is often low and dark, it is rarely checked properly.
The perimeter is where subfloor insulation most often fails. The batts need to meet the bearers and the edges of the floor, with no open gaps. A batt that stops short of the perimeter leaves a cold strip along the floor edge that you will feel in winter, even in a warm climate.
Perimeter Gaps and Sagging Batts
Batts that are not supported properly will sag over time, particularly where they are held only by friction. A sagging batt leaves an air gap at the top, which reduces its effectiveness. Look for batts that are visibly lower in some bays than others.
Also check where the batt meets the external walls. Gaps here are small individually but add up across the whole perimeter.
Ducts and Plumbing Running Through Insulation
Ducts, drain lines, and water pipes often run through the subfloor space, and insulation is frequently pushed aside or removed where they cross. Ducting that sits on top of the batt and compresses it is a common combination. Check each duct run for insulation that has been displaced or left out.
Air Sealing and Bypasses That Undo Insulation
Insulation only works properly when air cannot move through or around it. A batt with open bypasses behind it can perform far worse than its rating suggests, because warm or cool air moves freely past the insulation layer. This is why air sealing belongs in any insulation inspection.
The most common bypasses are at the top plates of walls, around penetrations, and at the junctions between ceilings and walls. These areas are often left open during framing and then covered by linings. Sealing them is cheap at the right stage and expensive afterwards.
Downlight Penetrations
Recessed downlights are one of the most common sources of air leakage in ceilings. Where a downlight is not sealed properly, air moves through the fitting and into the roof space, carrying conditioned air out of the living area. Some installers also pack insulation tightly against the fitting, which creates a different problem.
Non-rated downlights need clearance from insulation so they do not overheat. Check the fitting label, look for insulation packed directly against the housing, and confirm that the product matches the approved specification.
Exhaust Fans and Ducts
Exhaust fans and their ducts pass through the ceiling insulation, and the penetrations are often left unsealed. A duct that is not insulated, or an opening around the fan body that has not been closed, gives air a direct route through the ceiling. Check the fan housing and the duct run from the roof space side.
Pro tip: Look for daylight or draught marks around downlights and fans when you inspect the roof space. A dark stain or a visible gap around the fitting usually points to an air leakage path that the insulation cannot fix on its own.
Kneewalls, Drop Soffits and Roof Space Defects
Some roof space defects are structural features of the house rather than installation mistakes, which is why they get missed. Kneewalls and drop soffits both change the shape of the thermal envelope, and if the insulation is not designed around them, they create cold spots and heat paths. These defects are common in the roof spaces of houses with complex roof forms.
Several of these issues are listed in published guidance on attic insulation defects, including un-insulated kneewalls, drop soffits, open chases, and air barrier problems. The pattern is consistent: defects appear where the building form changes and the insulation line is not followed.
Uninsulated Kneewalls
A kneewall is a short vertical wall that separates a room from a sloping roof space. Where the kneewall is left uninsulated, the wall becomes an exposed surface between the living area and the roof space. It is one of the most frequently missed defects in new homes with attic or upper-level rooms.
In practice, check that the kneewall has insulation on the room side or the roof side, and that the insulation is continuous with the ceiling and roof insulation. A kneewall that is insulated in one section and left bare in another is a defect, even if the rest of the roof space looks complete.
Drop Soffits That Break the Thermal Envelope
Drop soffits are boxed-out sections of ceiling that hide ductwork, wardrobes, or structural members. When the insulation line runs above the soffit but the box itself is not insulated, the soffit becomes a cold section that sits inside the warm part of the house. Look for ceiling bulkheads where insulation has been stopped at the edge of the box.
Finding Insulation Defects During a Pre-Handover Inspection
A useful insulation inspection happens at specific stages, and it depends on access. The most effective approach is to inspect the roof space, subfloor, and wall cavities before linings are fixed, then confirm the finished result before handover. Each stage catches different problems, so you need both if you can get them.
Photographs are the core of a good insulation report. A written note that says insulation is missing is much less useful than a photo with a measurement, a location, and a description. Good photos also let the builder see exactly what needs fixing, which speeds up rectification.
Inspecting Before Plasterboard Goes Up
The pre-lining inspection is where most real defects are found. Ask for the inspection to happen after the insulation is installed and before the lining is fixed. You need to see the batts, the cavities, and the air sealing with clear access.
Bring a torch, a tape measure, and a way to take dated photos. Walk the full length of each wall, check the ceiling perimeter, and confirm the subfloor coverage before the floor is closed in.
What to Photograph and Record
Record each defect with a photo that shows the location, the defect, and a reference point such as a wall plate or a corner. Note the room, the wall or ceiling, and whether the issue is a gap, compression, missing product, or air leakage. A report built this way gives the builder a clear list of tasks rather than a general complaint.
GoInspect produces photo-enhanced defect reports that identify each issue, assign responsibility to the relevant trade, and provide same-day reporting for pre-handover and pre-settlement work. That turnaround matters for insulation because the window to fix hidden defects is short.
Assigning Responsibility for Insulation Repairs
An insulation defect report is only useful if it reaches the right people. Insulation problems can come from the insulation installer, the electrician, the plumber, the carpenter, or the builder who manages the sequence. Without a clear assignment, each trade can say the problem belongs to someone else.
Matching Defects to the Right Trade
Batts that are compressed or missing are usually the insulation installer’s responsibility. Cavities left open around power points often point to the electrician, and displaced batts around pipes often trace back to the plumber. Downlight clearance problems can involve both the electrician and the insulation installer, which is why the report should say so.
When you assign responsibility, name the trade and the stage at which the defect should have been caught. That gives the builder a clear path to fix it and makes it harder to dismiss the issue.
Getting Rectification Booked and Verified
Do not accept a verbal promise to fix insulation. Ask for a rectification date, confirm which trade will attend, and arrange a re-inspection before lining or final sign-off where possible. A repair that is not checked can be as wrong as the original defect.
Keep the original report, the photos, and the re-inspection record together. If a dispute arises after settlement, that documentation is the strongest evidence you will have.
Comparing Ways to Check Insulation
There are several ways to check insulation in a new home, and each has limits. Visual checks are cheap but shallow, pre-lining inspections are thorough but time-sensitive, and thermal imaging can show patterns but cannot confirm what is installed. The table below compares the three approaches most commonly used in new Queensland builds.
| Approach | What It Catches | Where It Falls Short |
|---|---|---|
| Visual check at handover | Obvious gaps at the hatch, visible sagging, missing batts in open areas | Cannot see inside walls or subfloors, and misses compression and bypasses behind the surface |
| Pre-lining inspection with photos | Missing or cut batts, compressed insulation, open bypasses, downlight clearance, perimeter gaps | Only works if booked before linings go up, and needs a qualified inspector to judge installation quality |
| Thermal imaging after completion | Temperature patterns that suggest missing insulation or air leakage in finished walls and ceilings | Results depend on weather and temperature difference, cannot confirm product type or thickness, and cannot replace a physical check |
In our experience, the pre-lining inspection delivers the most useful results for new builds. Thermal imaging can help as a secondary check, but it should not be the only check on a house. A handover walk-through alone is not an insulation inspection and should not be treated as one.
Frequently Asked Questions
When is the best time to inspect insulation in a new home?
The best time is after the insulation is installed and before the plasterboard or lining is fixed. At that stage, you can see the batts, the cavities, and the air sealing directly. Once linings are fixed, most problems can only be confirmed through the builder’s records.
Can insulation defects be fixed after handover?
Some can, but it is usually more expensive and disruptive. Ceiling batts can often be adjusted or replaced from the roof space, but wall cavity defects usually require cutting into plasterboard. That is why finding defects before lining is the most cost-effective approach.
How do I know if ceiling insulation has been compressed?
Compare the batt thickness to the approved plans and look for batts that are flattened, sagging, or pushed aside by cabling and ducting. A batt that appears thin or crushed in several places is a sign of compression. Photograph each area and note the location so the builder can address it.
Do downlights really affect insulation?
Yes. Non-rated downlights need clearance from insulation, and packing batts tightly against them can cause overheating. Air leakage around the fitting also reduces the effectiveness of the ceiling insulation. Check the fitting label and confirm the clearance during the roof space inspection.
Is thermal imaging enough to check insulation in a new home?
No. Thermal imaging can show patterns of heat loss, but it cannot confirm the product installed, its thickness, or whether it was fitted correctly. It works best as a supplement to a physical inspection before lining, not as a replacement for one.
Who is responsible for fixing insulation defects in a new build?
Responsibility depends on the defect and the stage at which it should have been caught. Insulation installers are usually responsible for compressed or missing batts, while electricians and plumbers may be responsible for cavities disturbed by their work. A clear report that names the trade and location makes the rectification process faster.
Have you found insulation gaps in a new home that the builder later explained away, and what stage of the build were you able to inspect them at? Share your experience in the comments so we can keep refining the checklist we use on site.
References
- Australian government guidance on insulation in homes
- Industry article on an overlooked insulation issue in new home construction
- Article cataloguing common attic insulation defects